MongoDB
Contents
MongoDB#
You must first set up an account in mongoDB atlas. MongoDB Atlas is a cloud service that mongoDB provides.
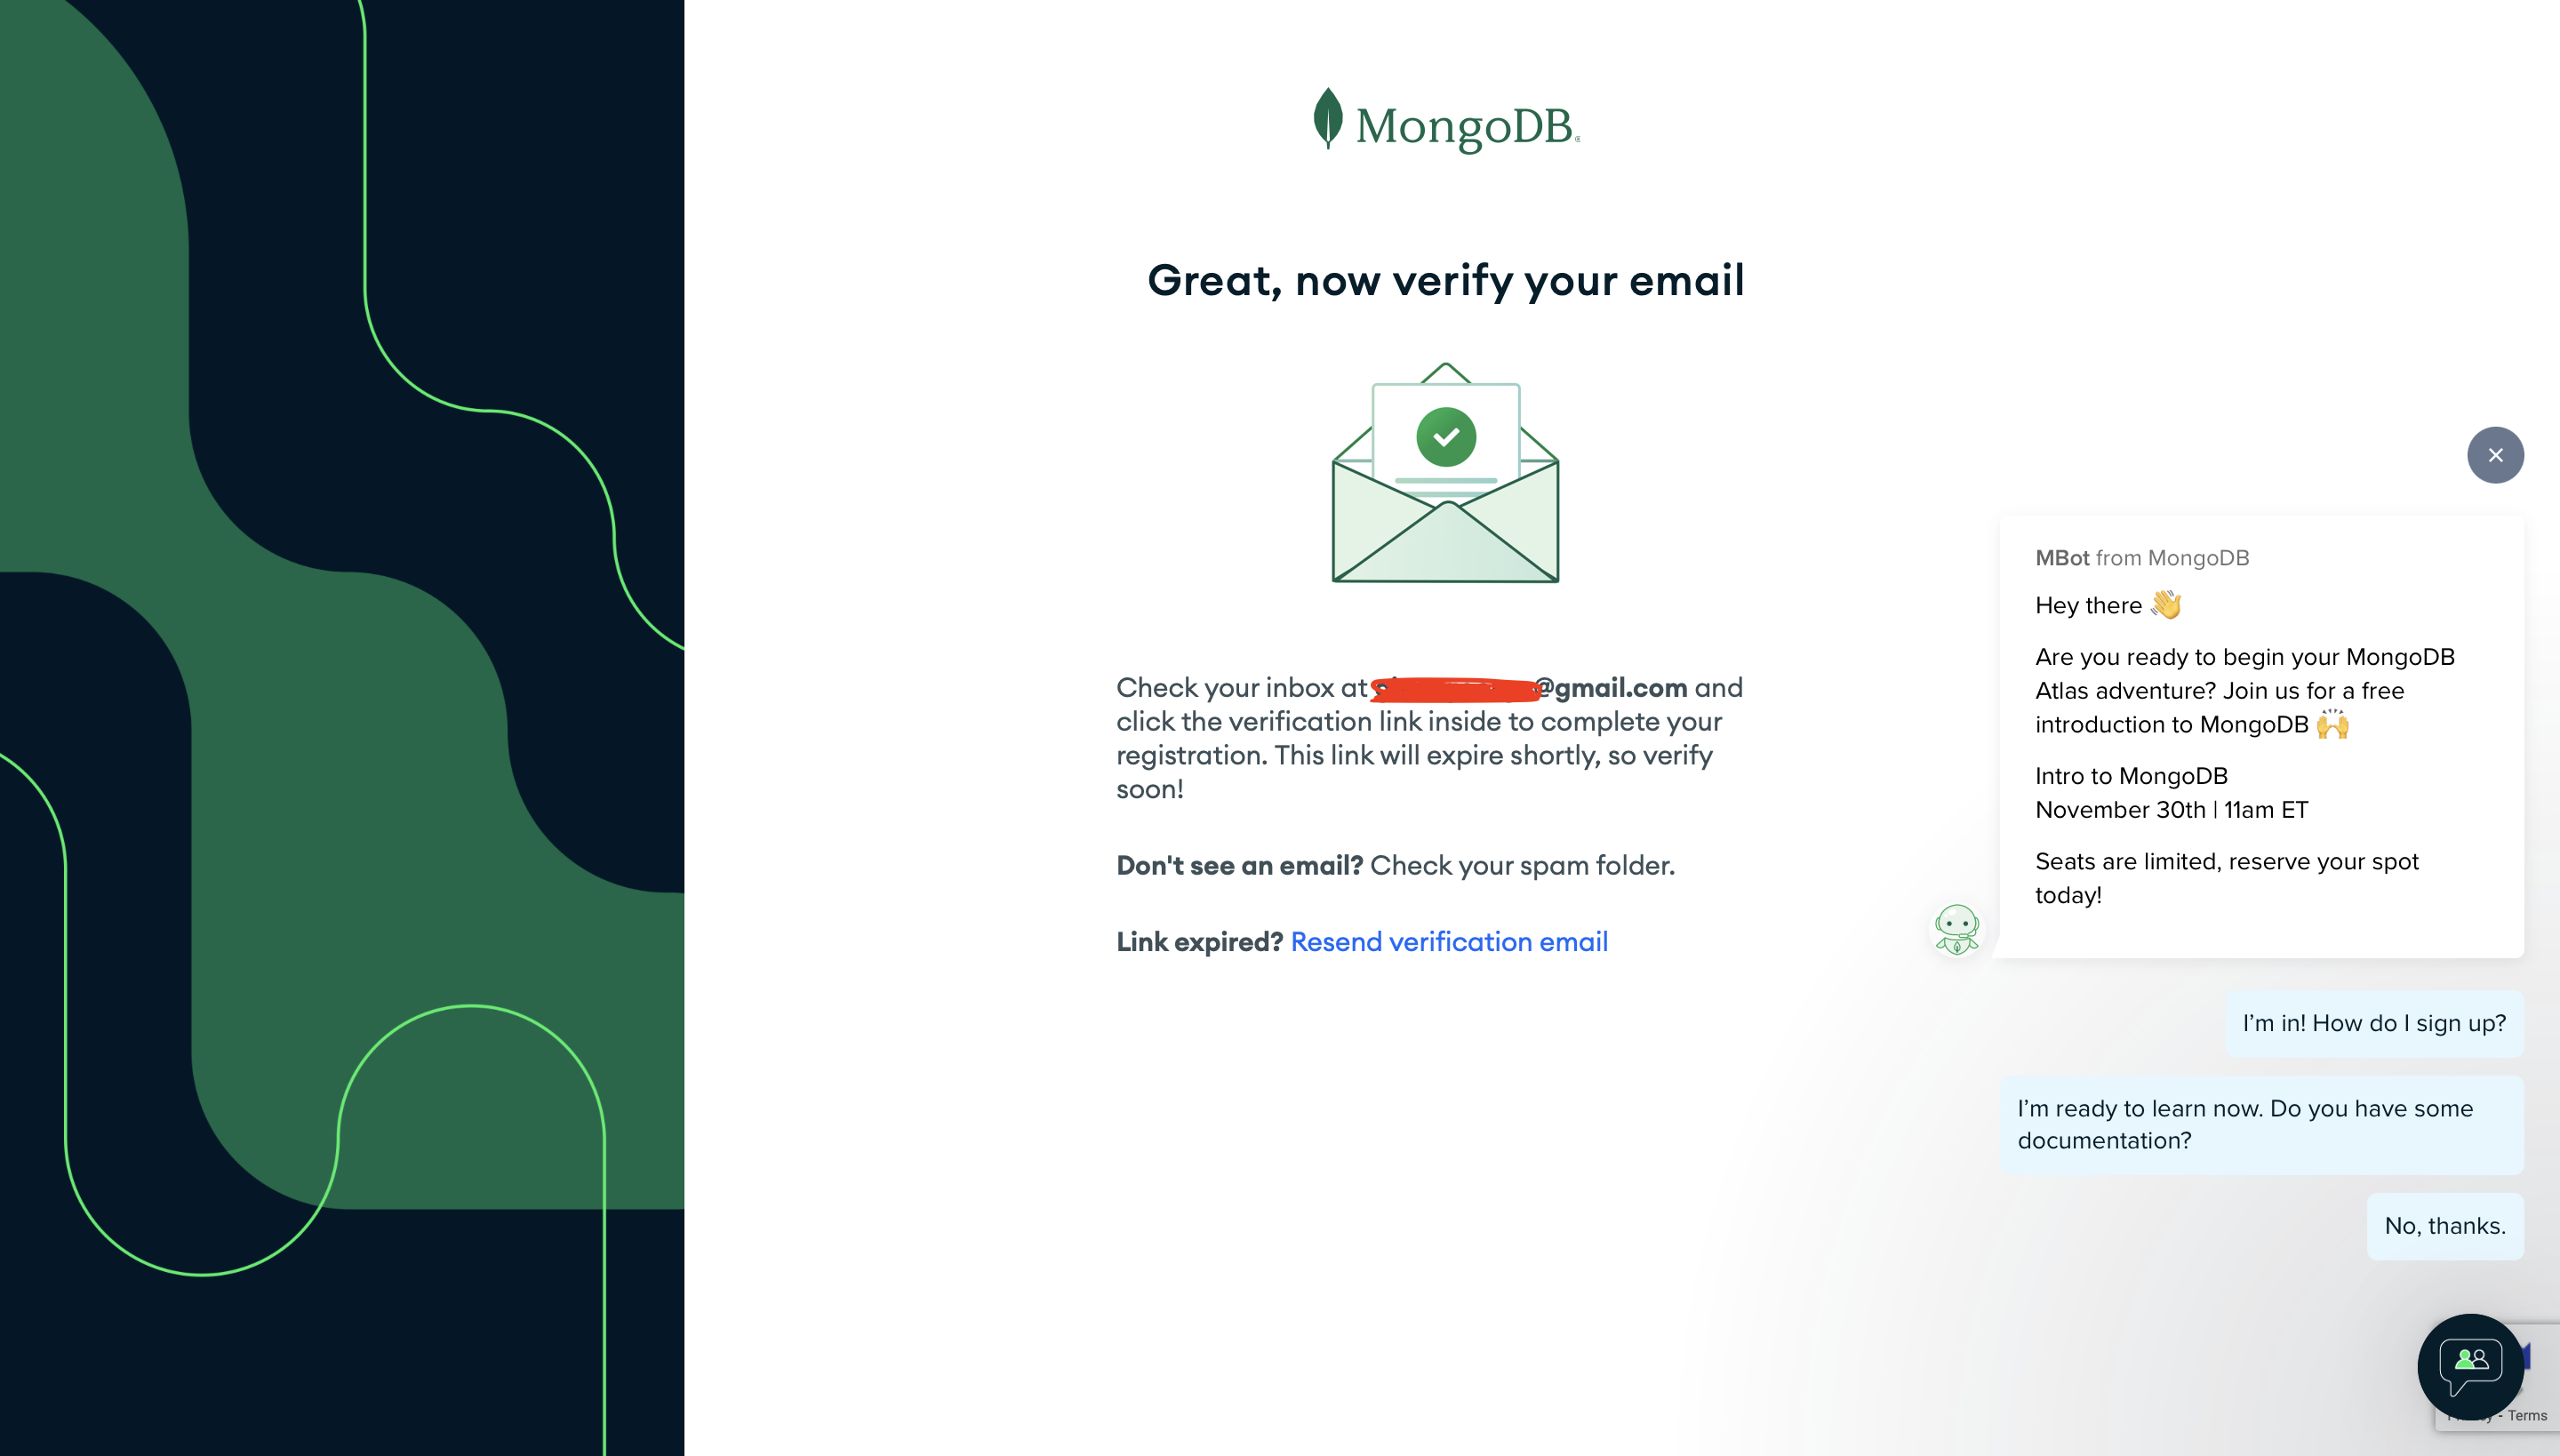
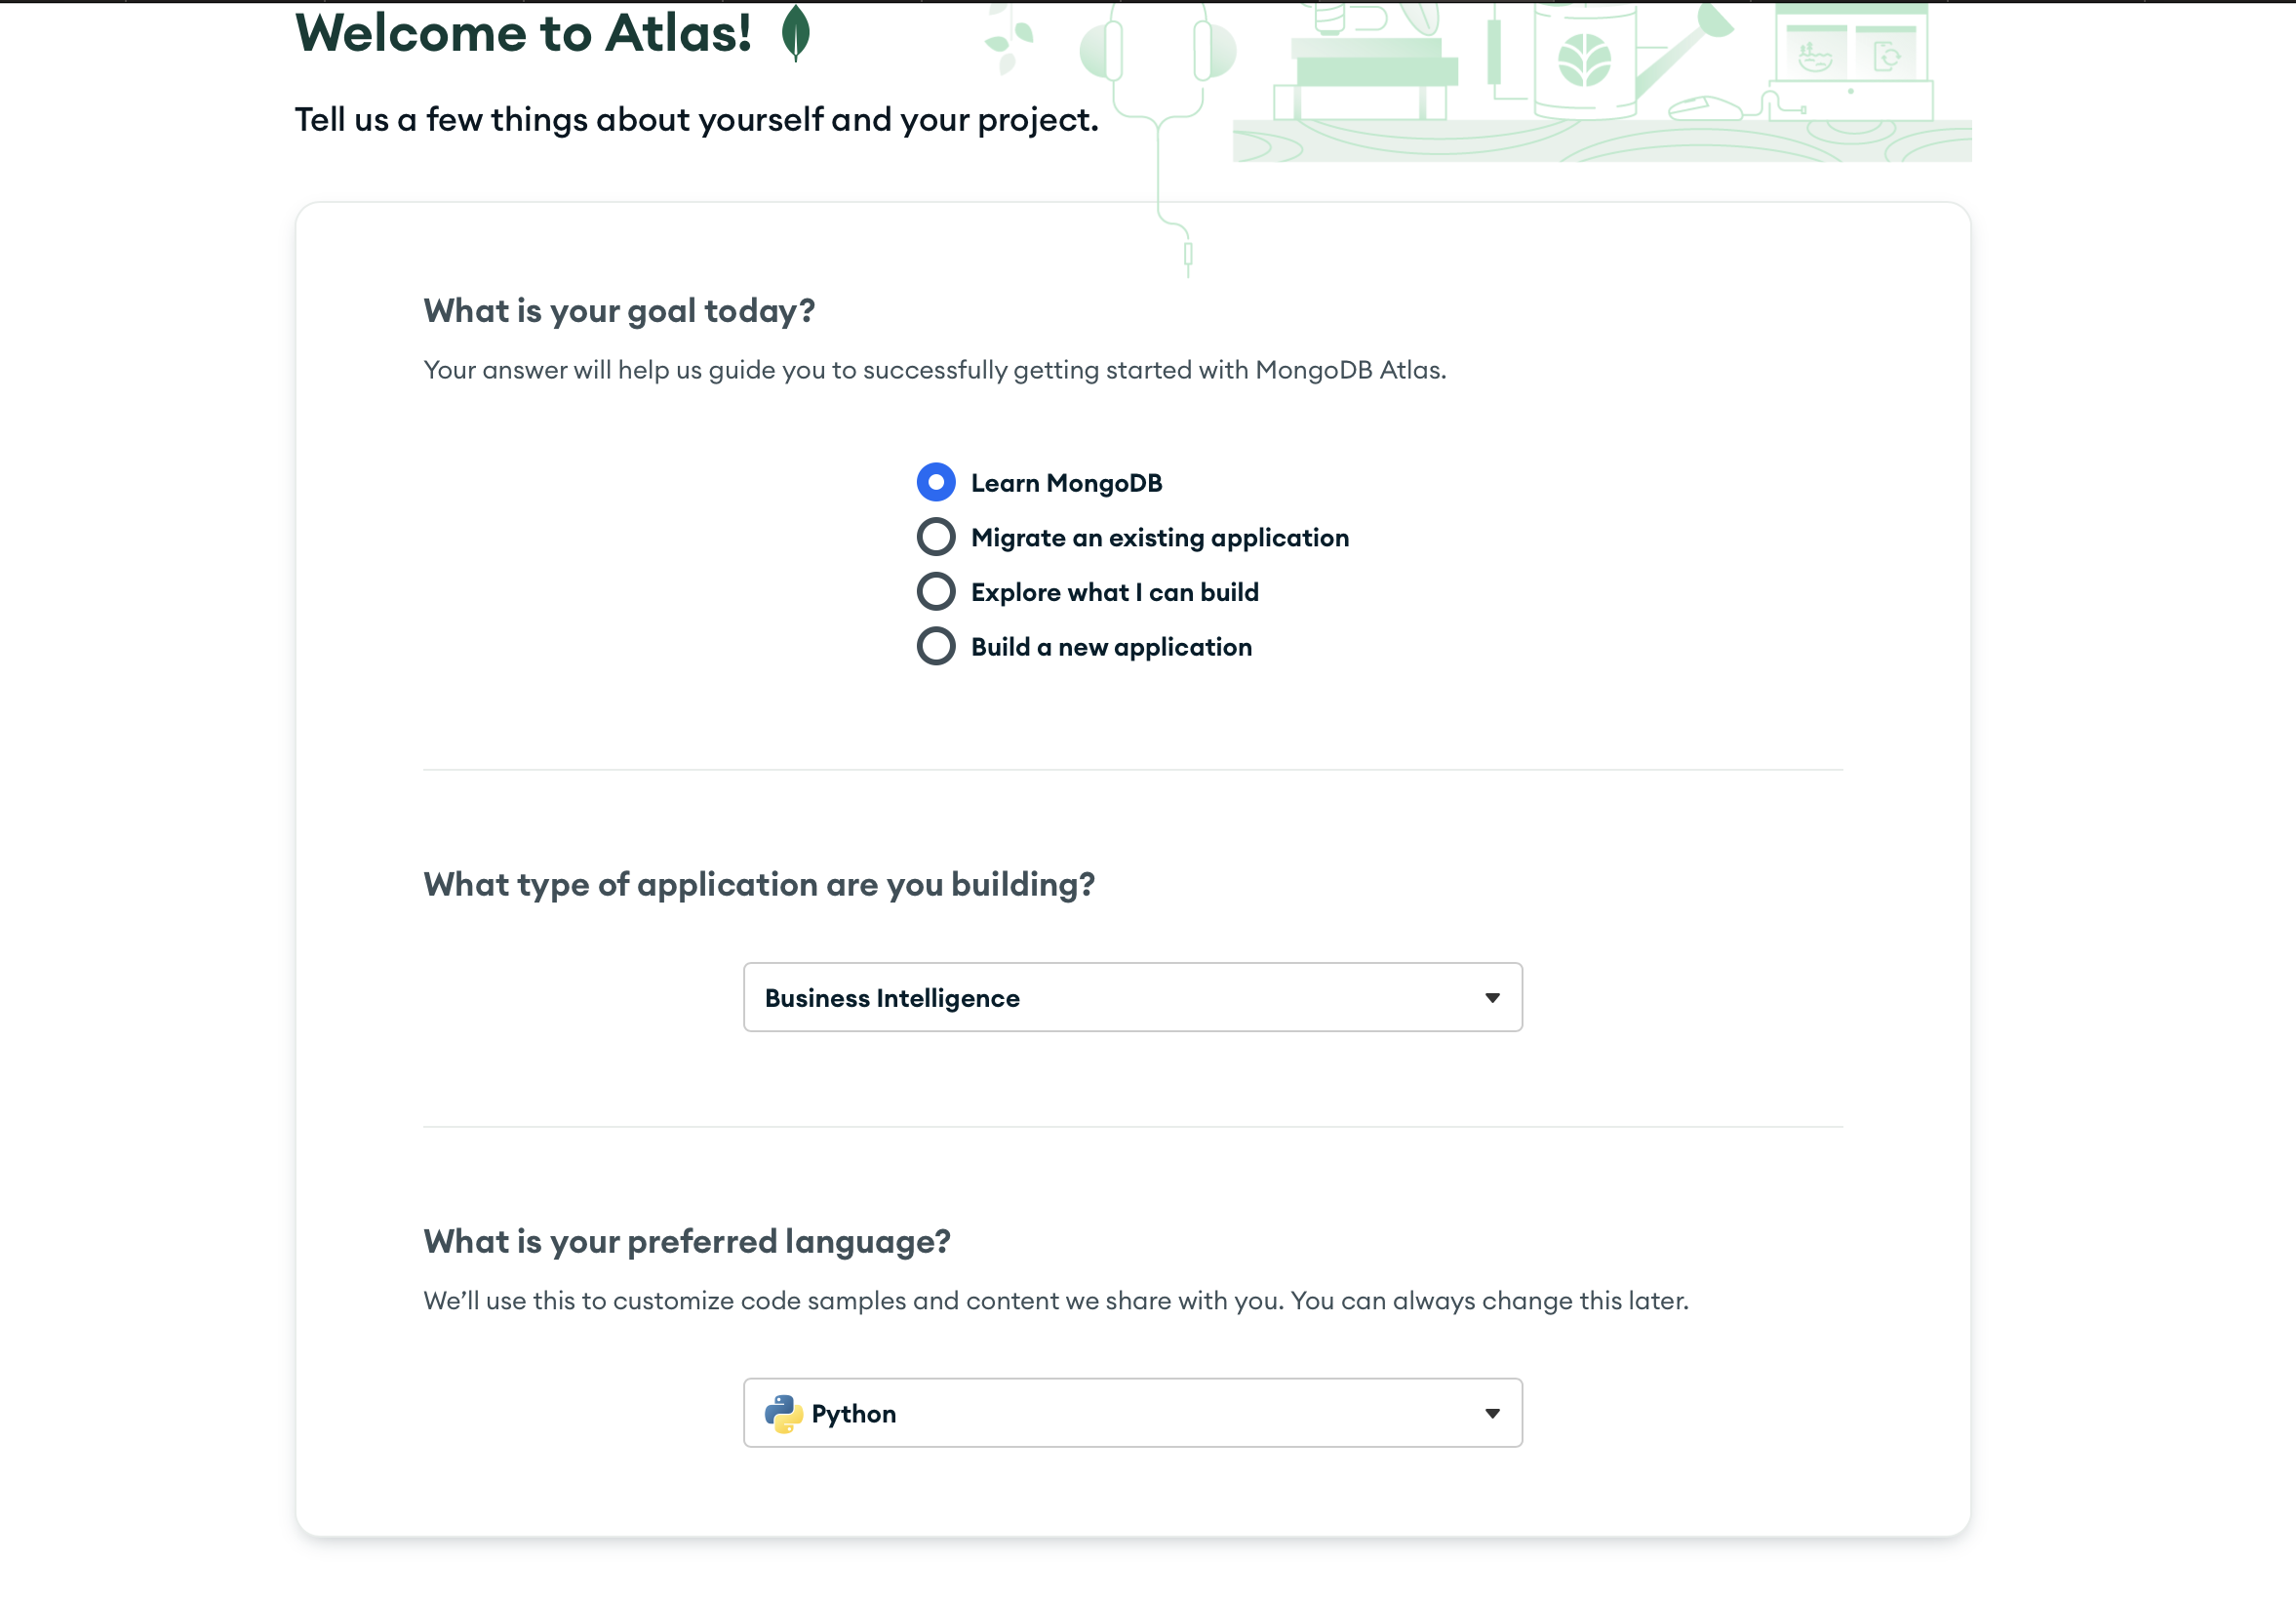
After you verify your email address, you will see a screen like the one below; Here are the options that I selected
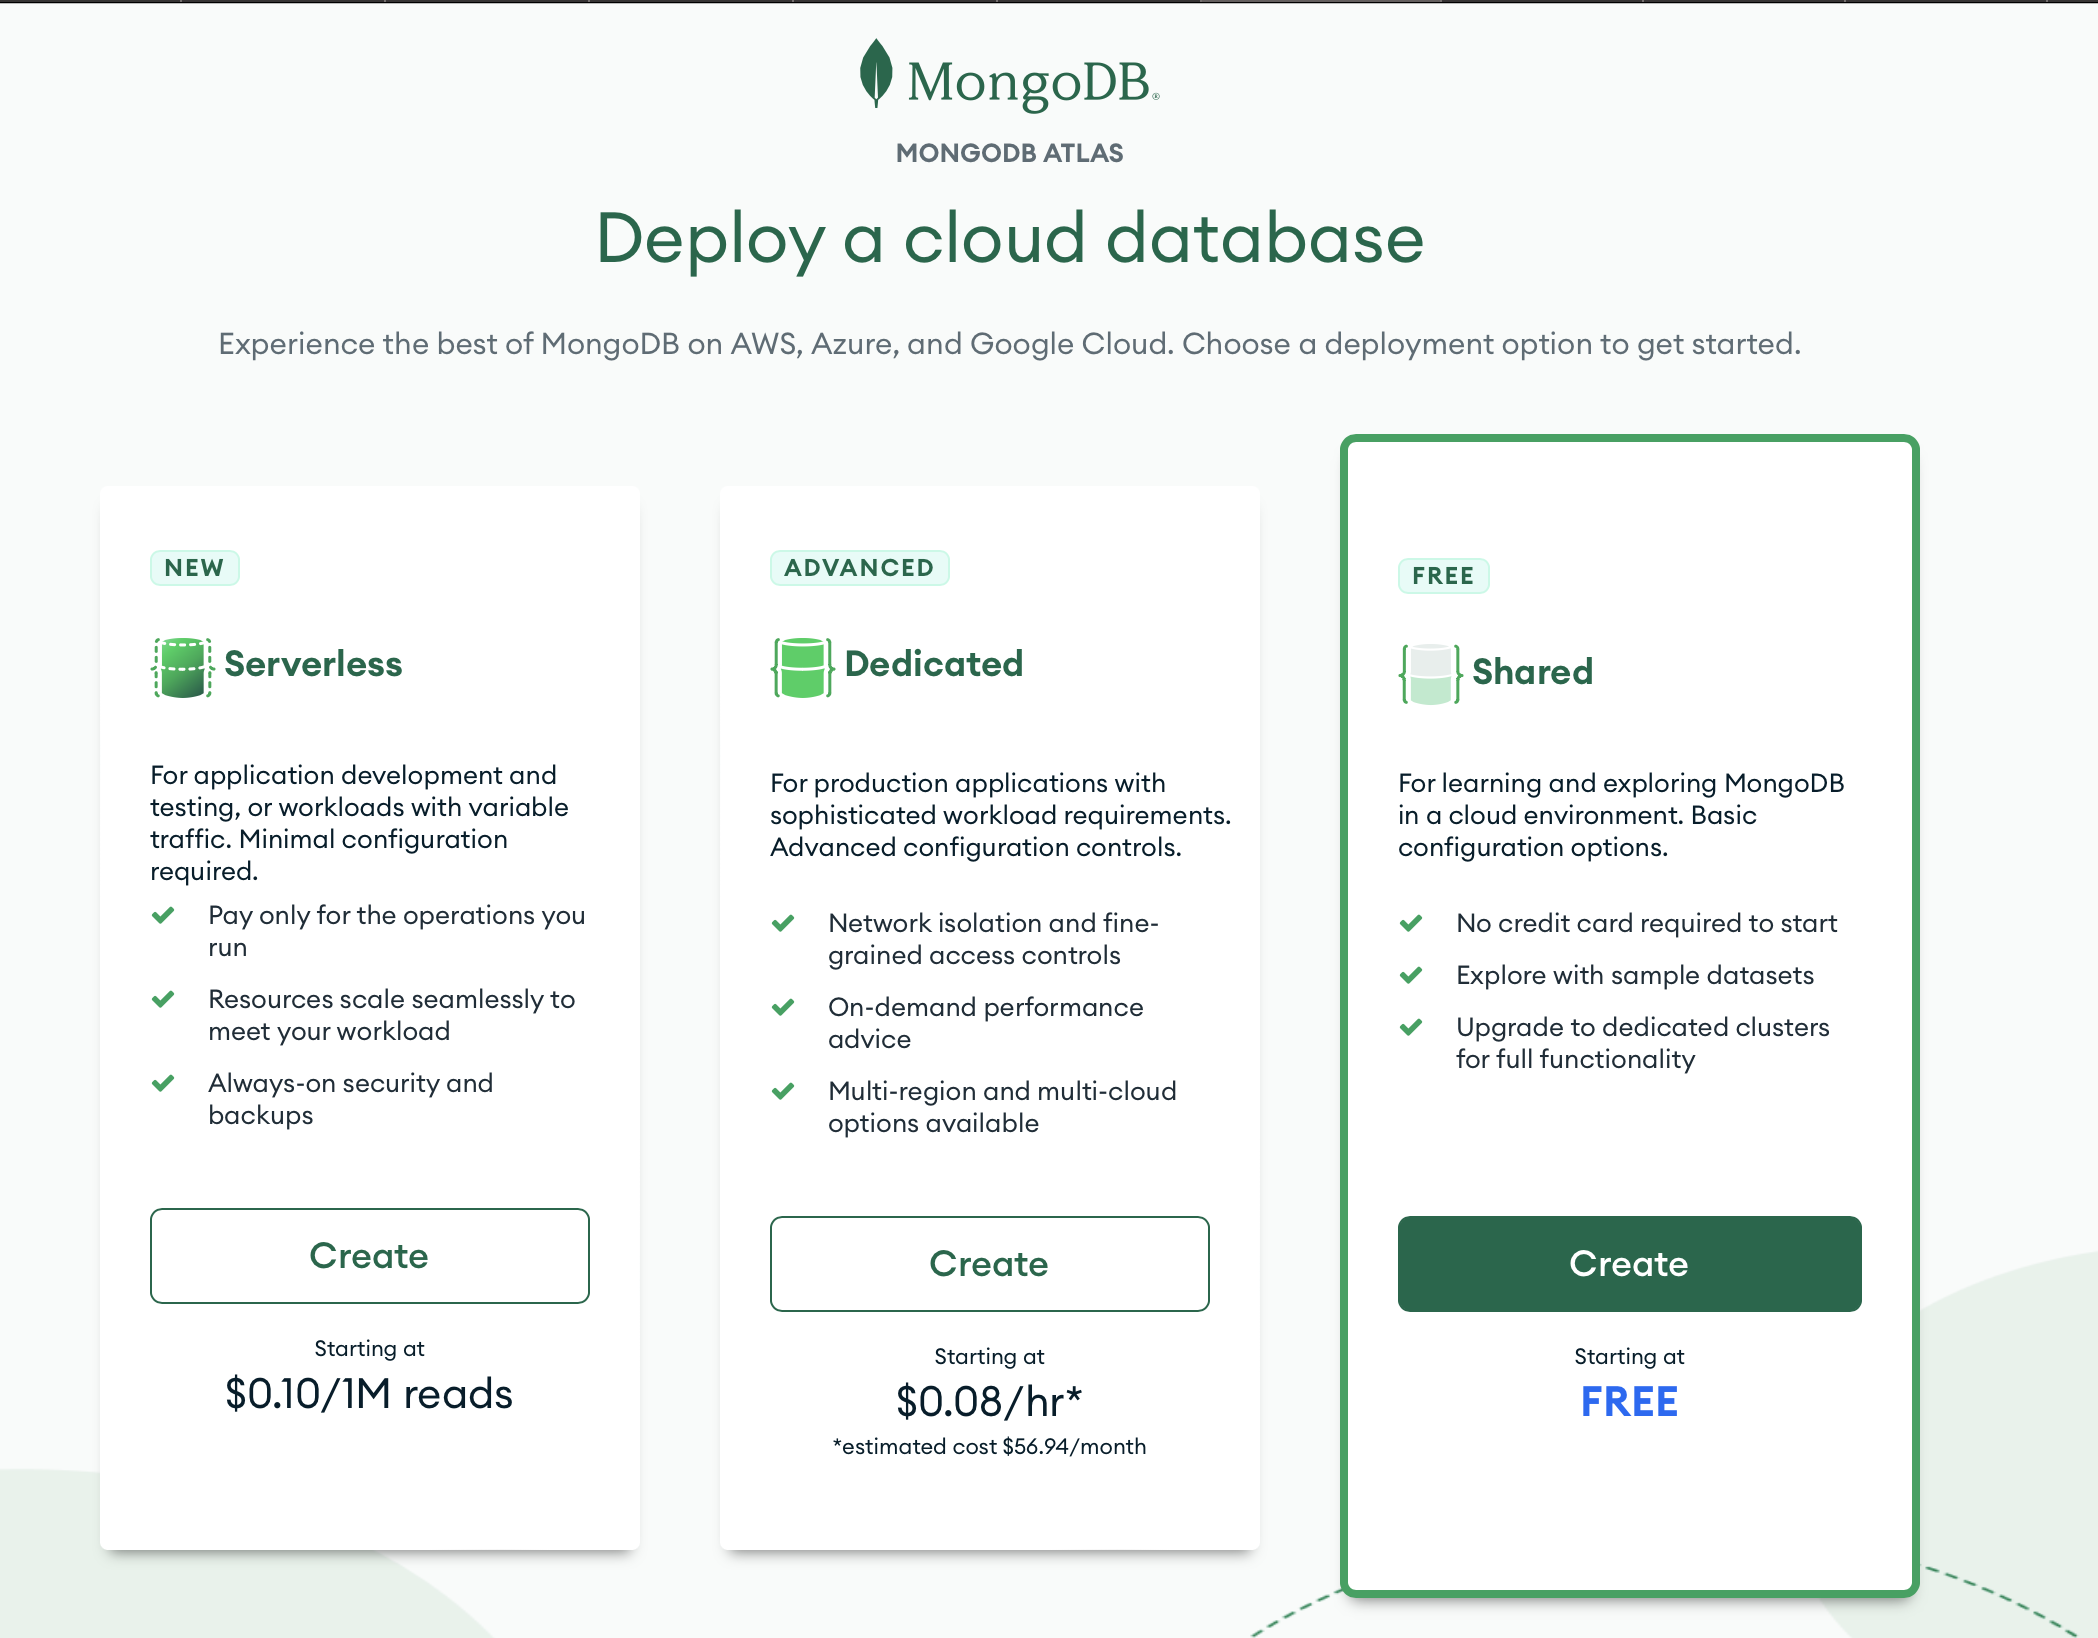
Next, we want to deploy a database. There are 3 options like what you see here. We are going with the free option
There are 4 sections that you need to select here; In the following screenshots, I will be showing the options that I choose for these sections
Cloud Provider & Region
Cluster Tier
Additional Settings
Cluster Name
Explaining 4 sections;
Cloud Provider & Region
Here I am selecting AWS and the region to be us west as that is the closest one to Vancouver.

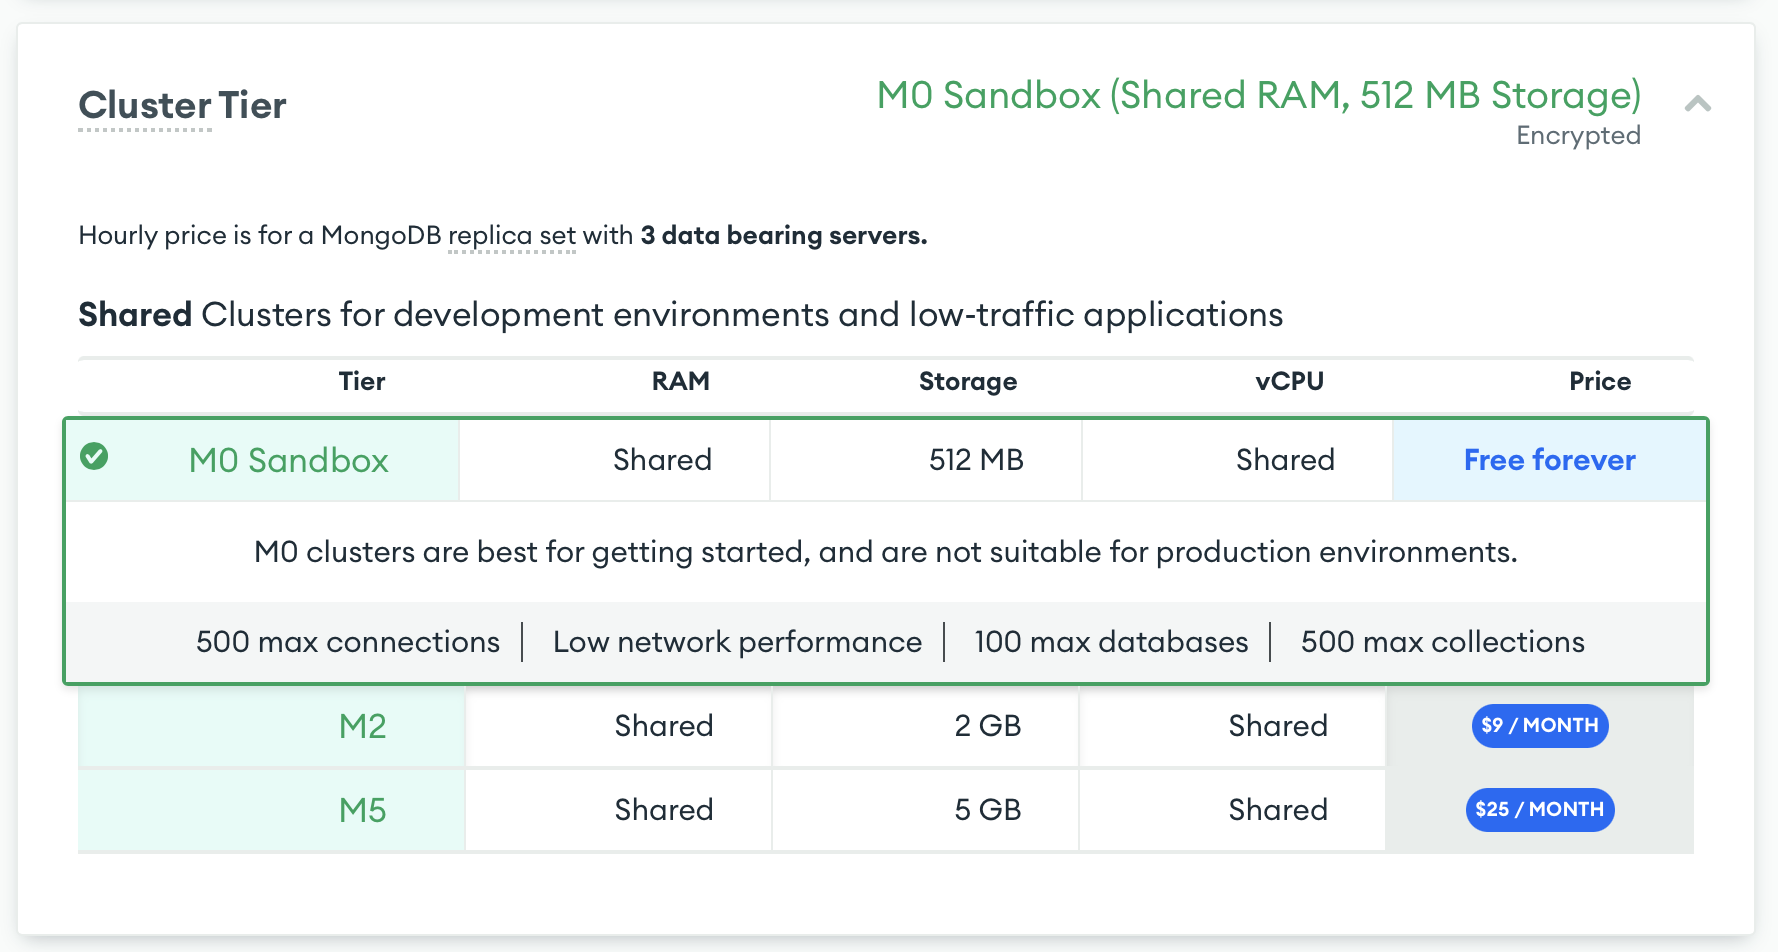
Cluster Tier
We are going for the free tier option.
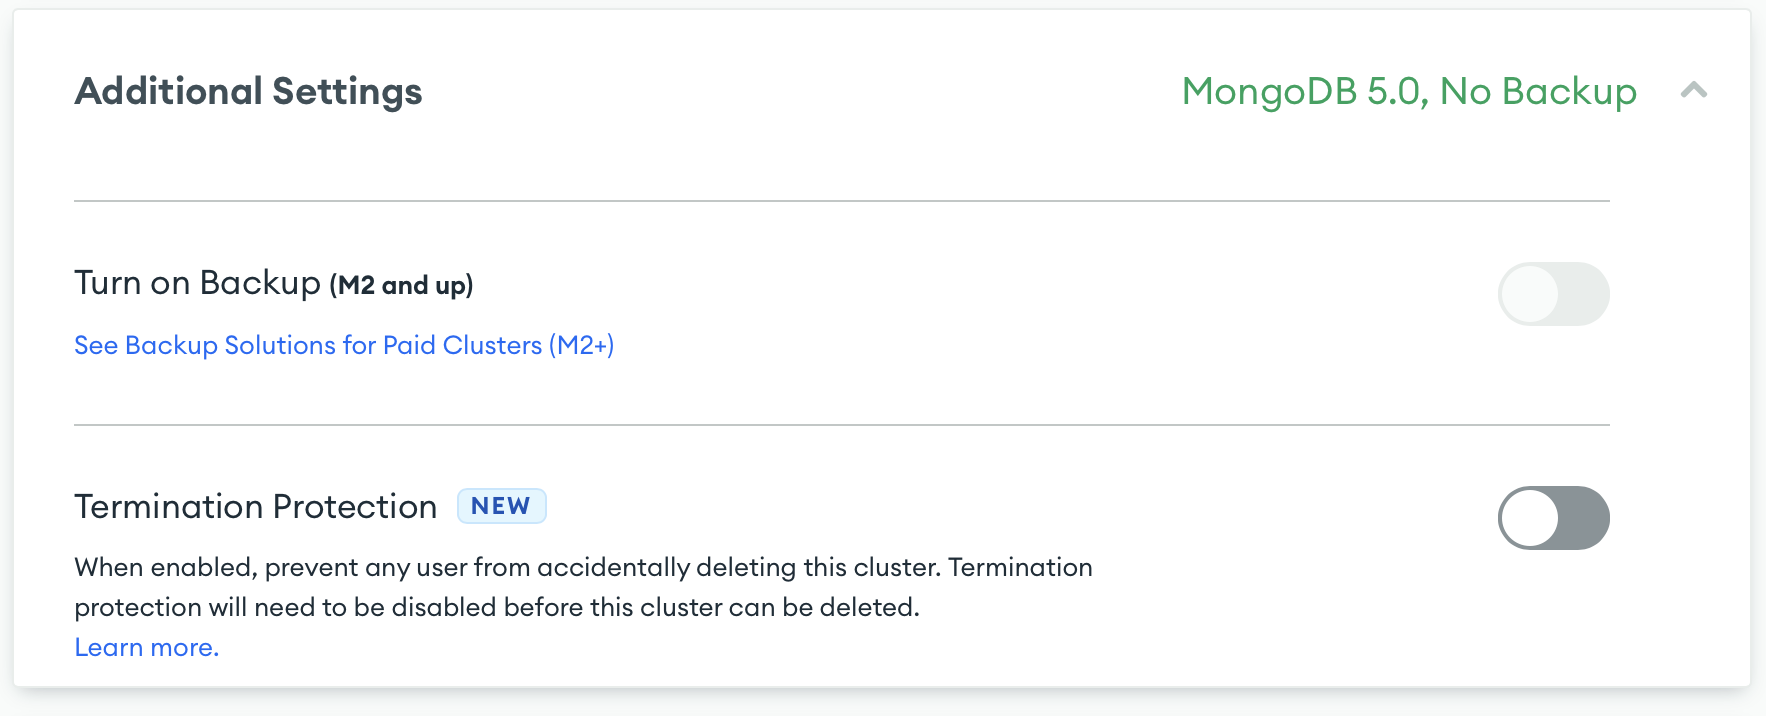
Additional Settings
Going here all with defaults.
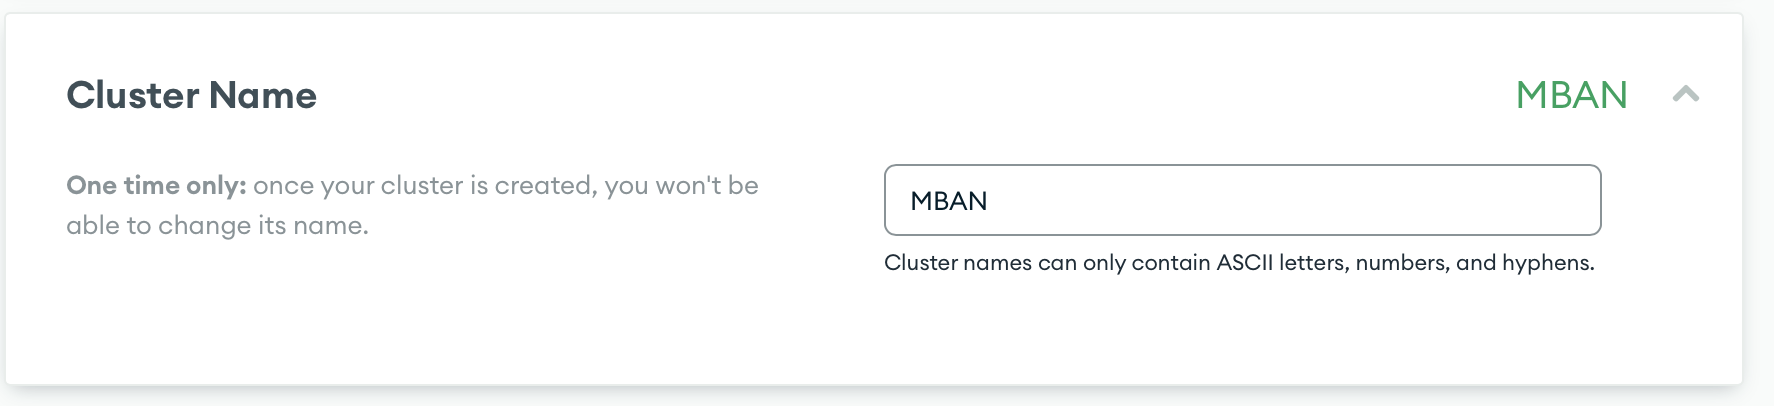
Cluster Name
Here I am selecting my cluster name to be MBAN
Here is how the full selection looks like;
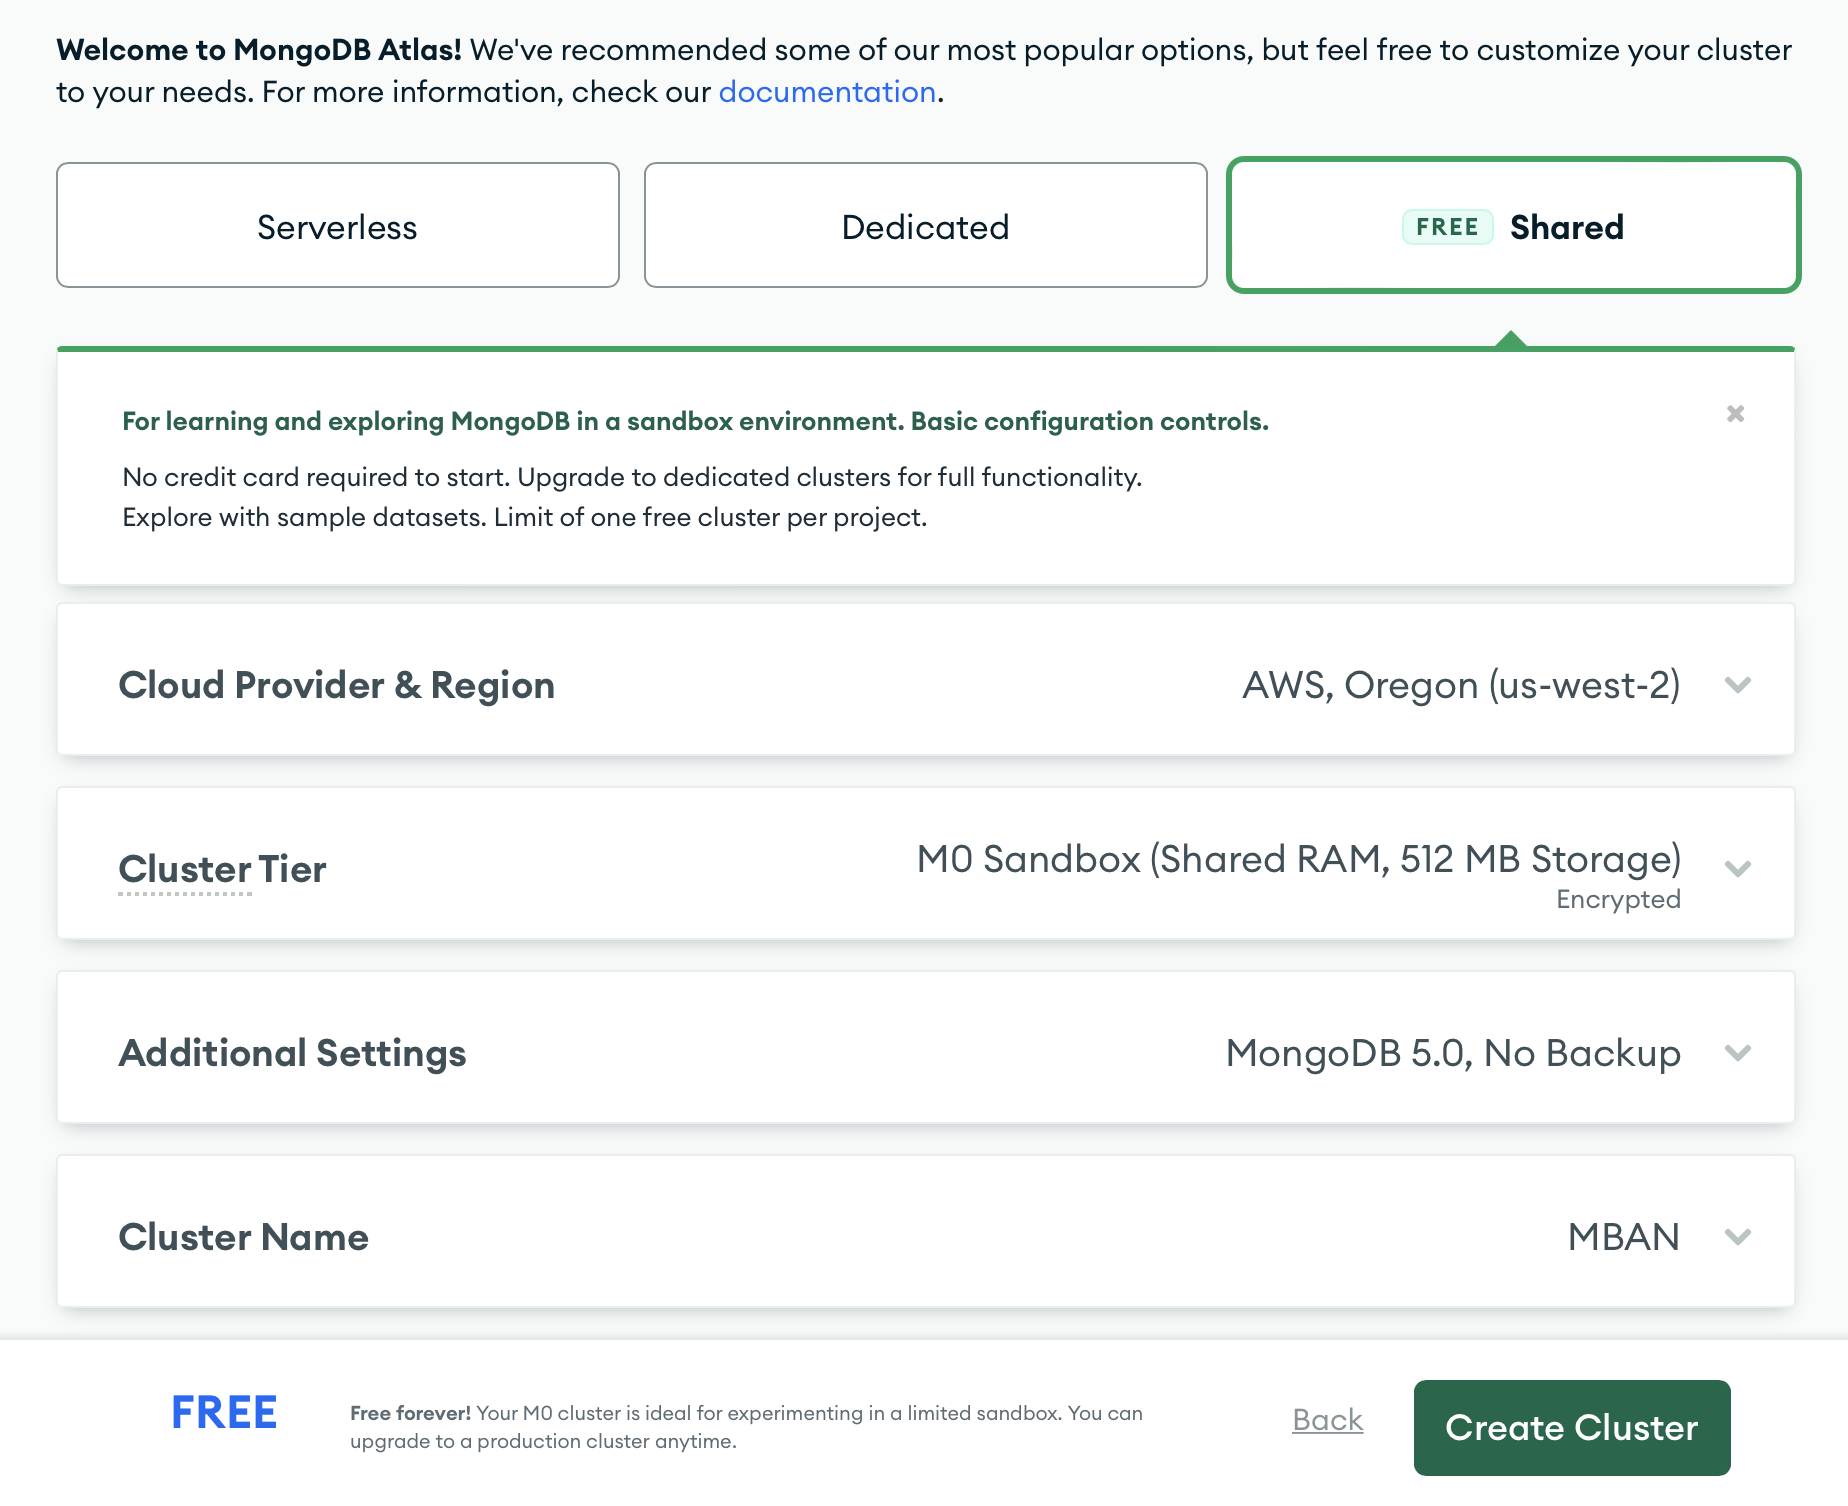
Press on create the cluster, and it will provision your MongoDB cluster.
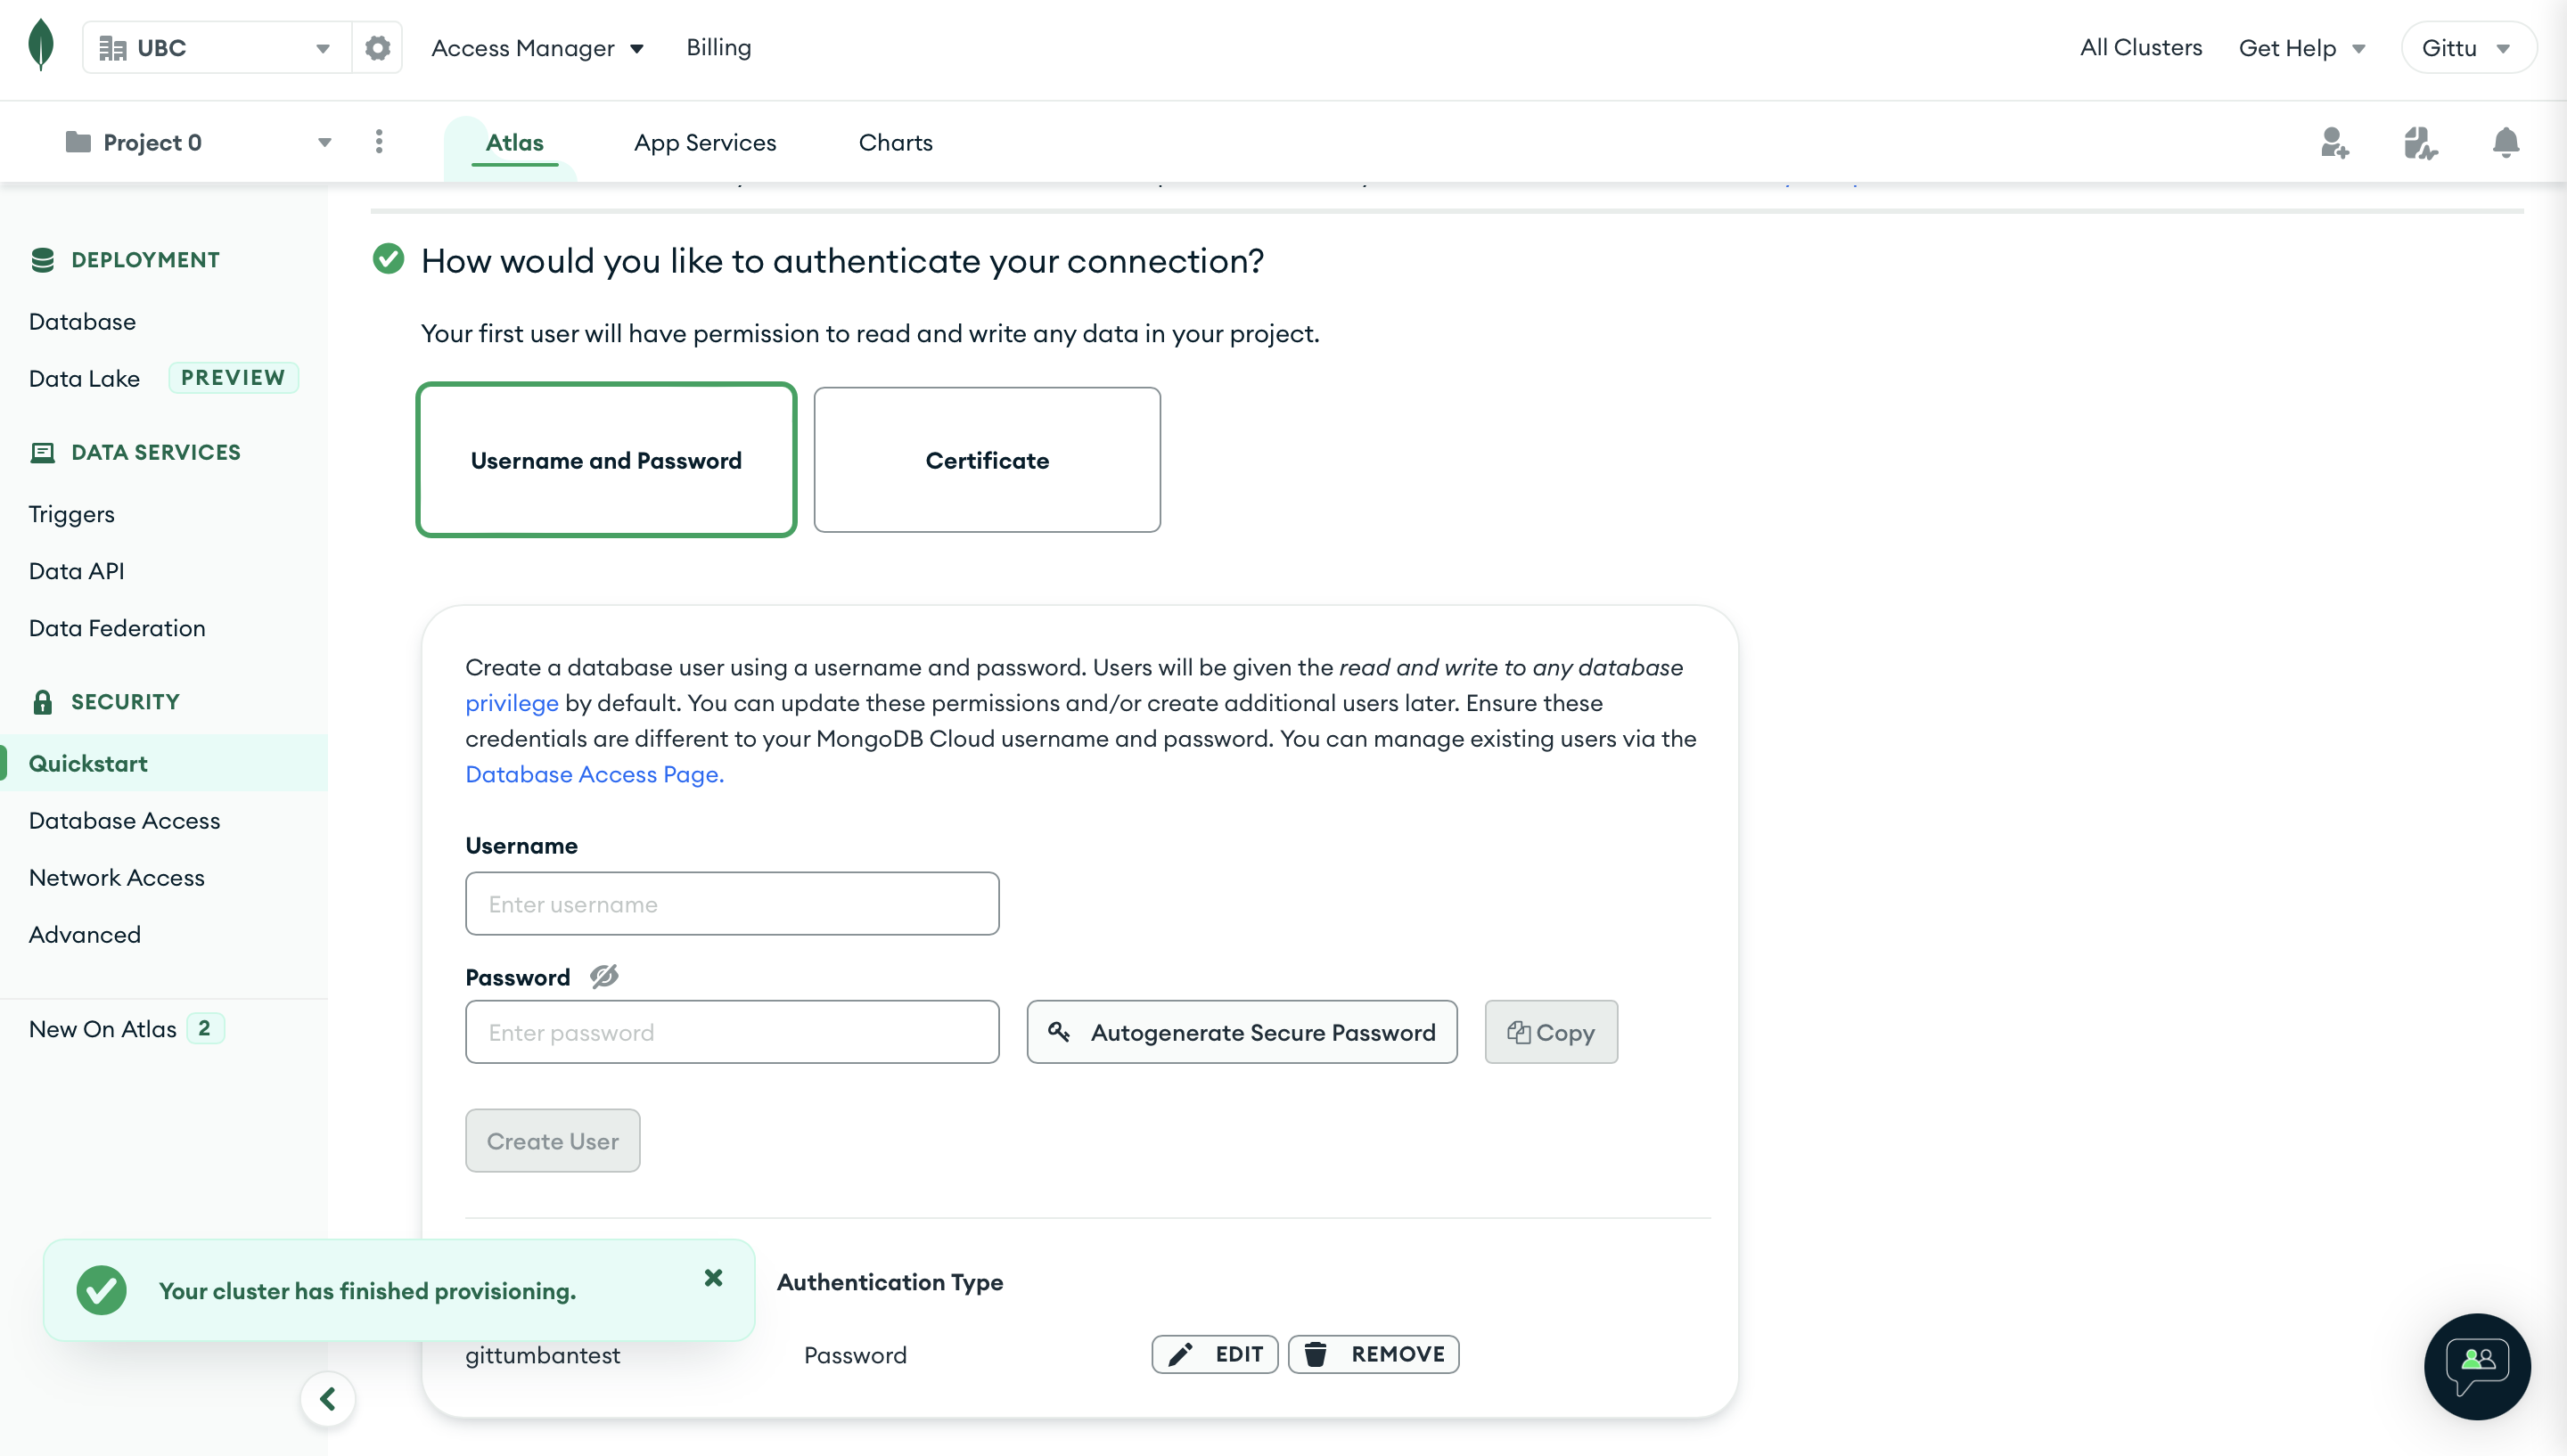
Once your cluster is provisioned, you want to set your username and password. I set my username to gittumbantest and password to be sorry I won't tell you. Here is a screenshot
Now you need to add the IP addresses from which your database has access. Here you will be given access to your laptop’s IP address.

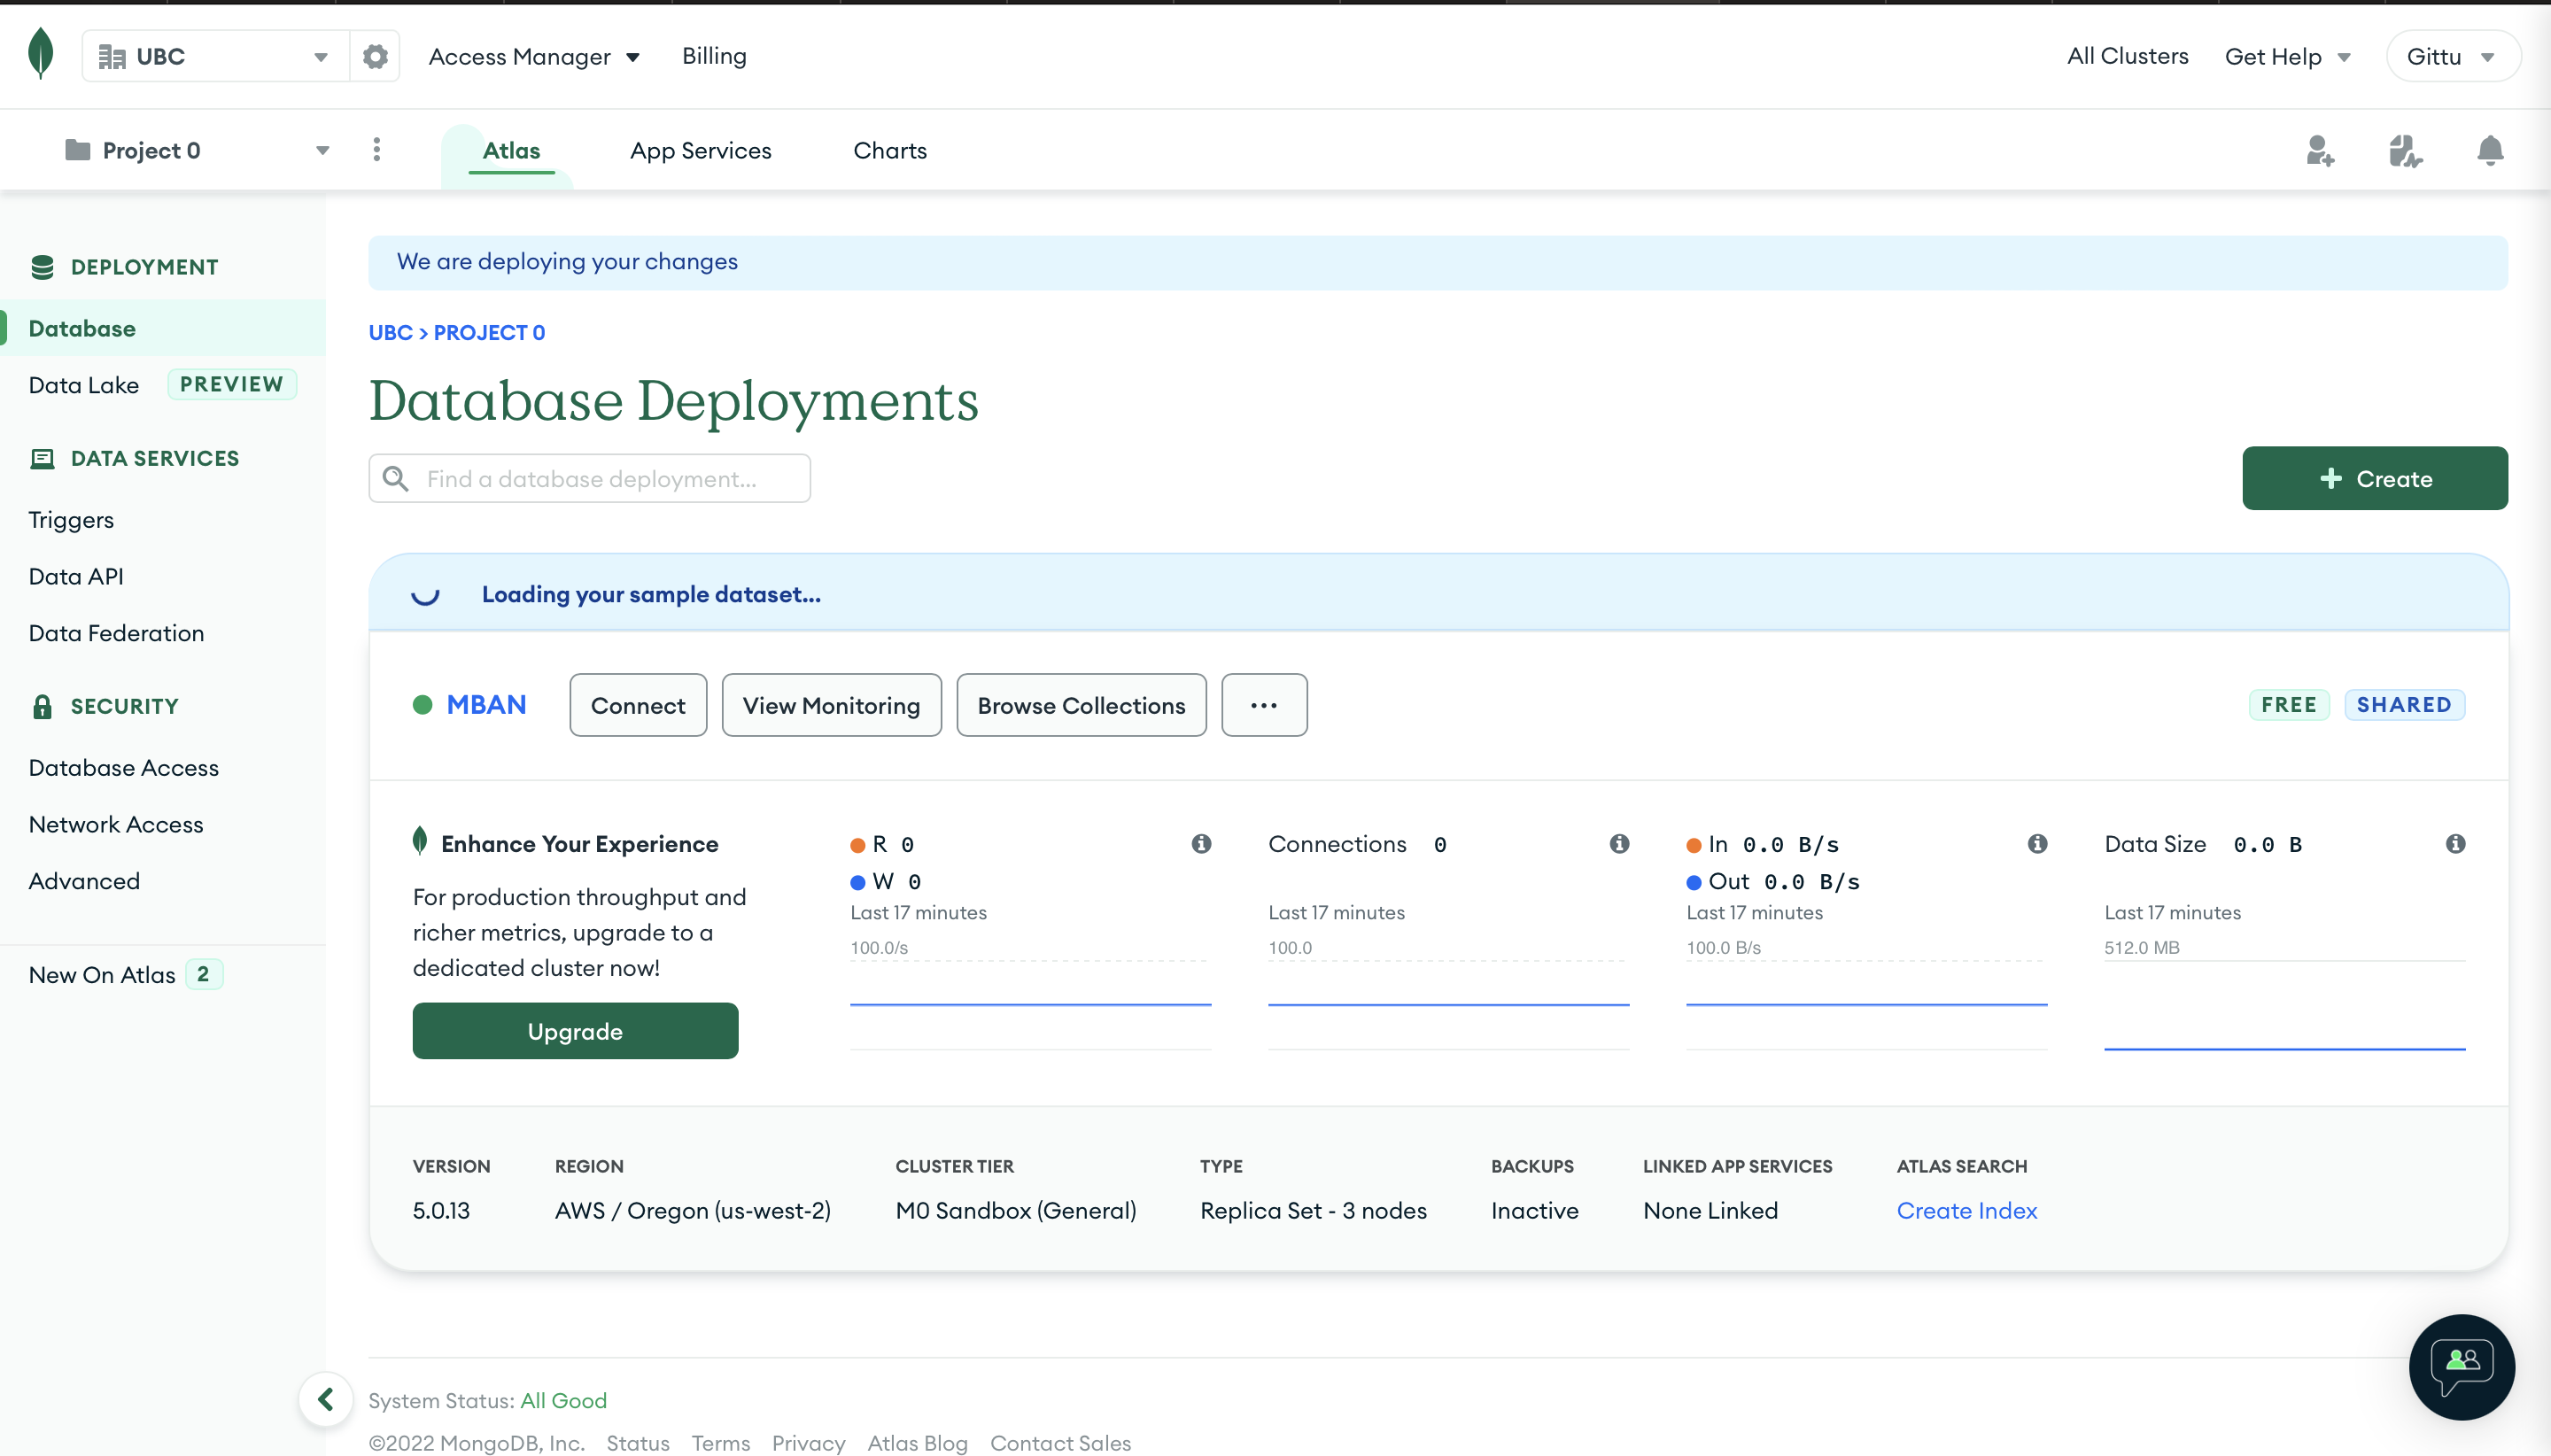
Here is the deployment of the MongoDB database that you created now;
Now we are done with all the deployments. It is time to connect to it. We are connecting it from jupyter notebook in lecture 8 - please check there for more details.
Connect with MongoDB shell (OPTIONAL)#
Here I will show you how to connect to it using MongoDB Shell. Click on Connect with MongoDB shell.
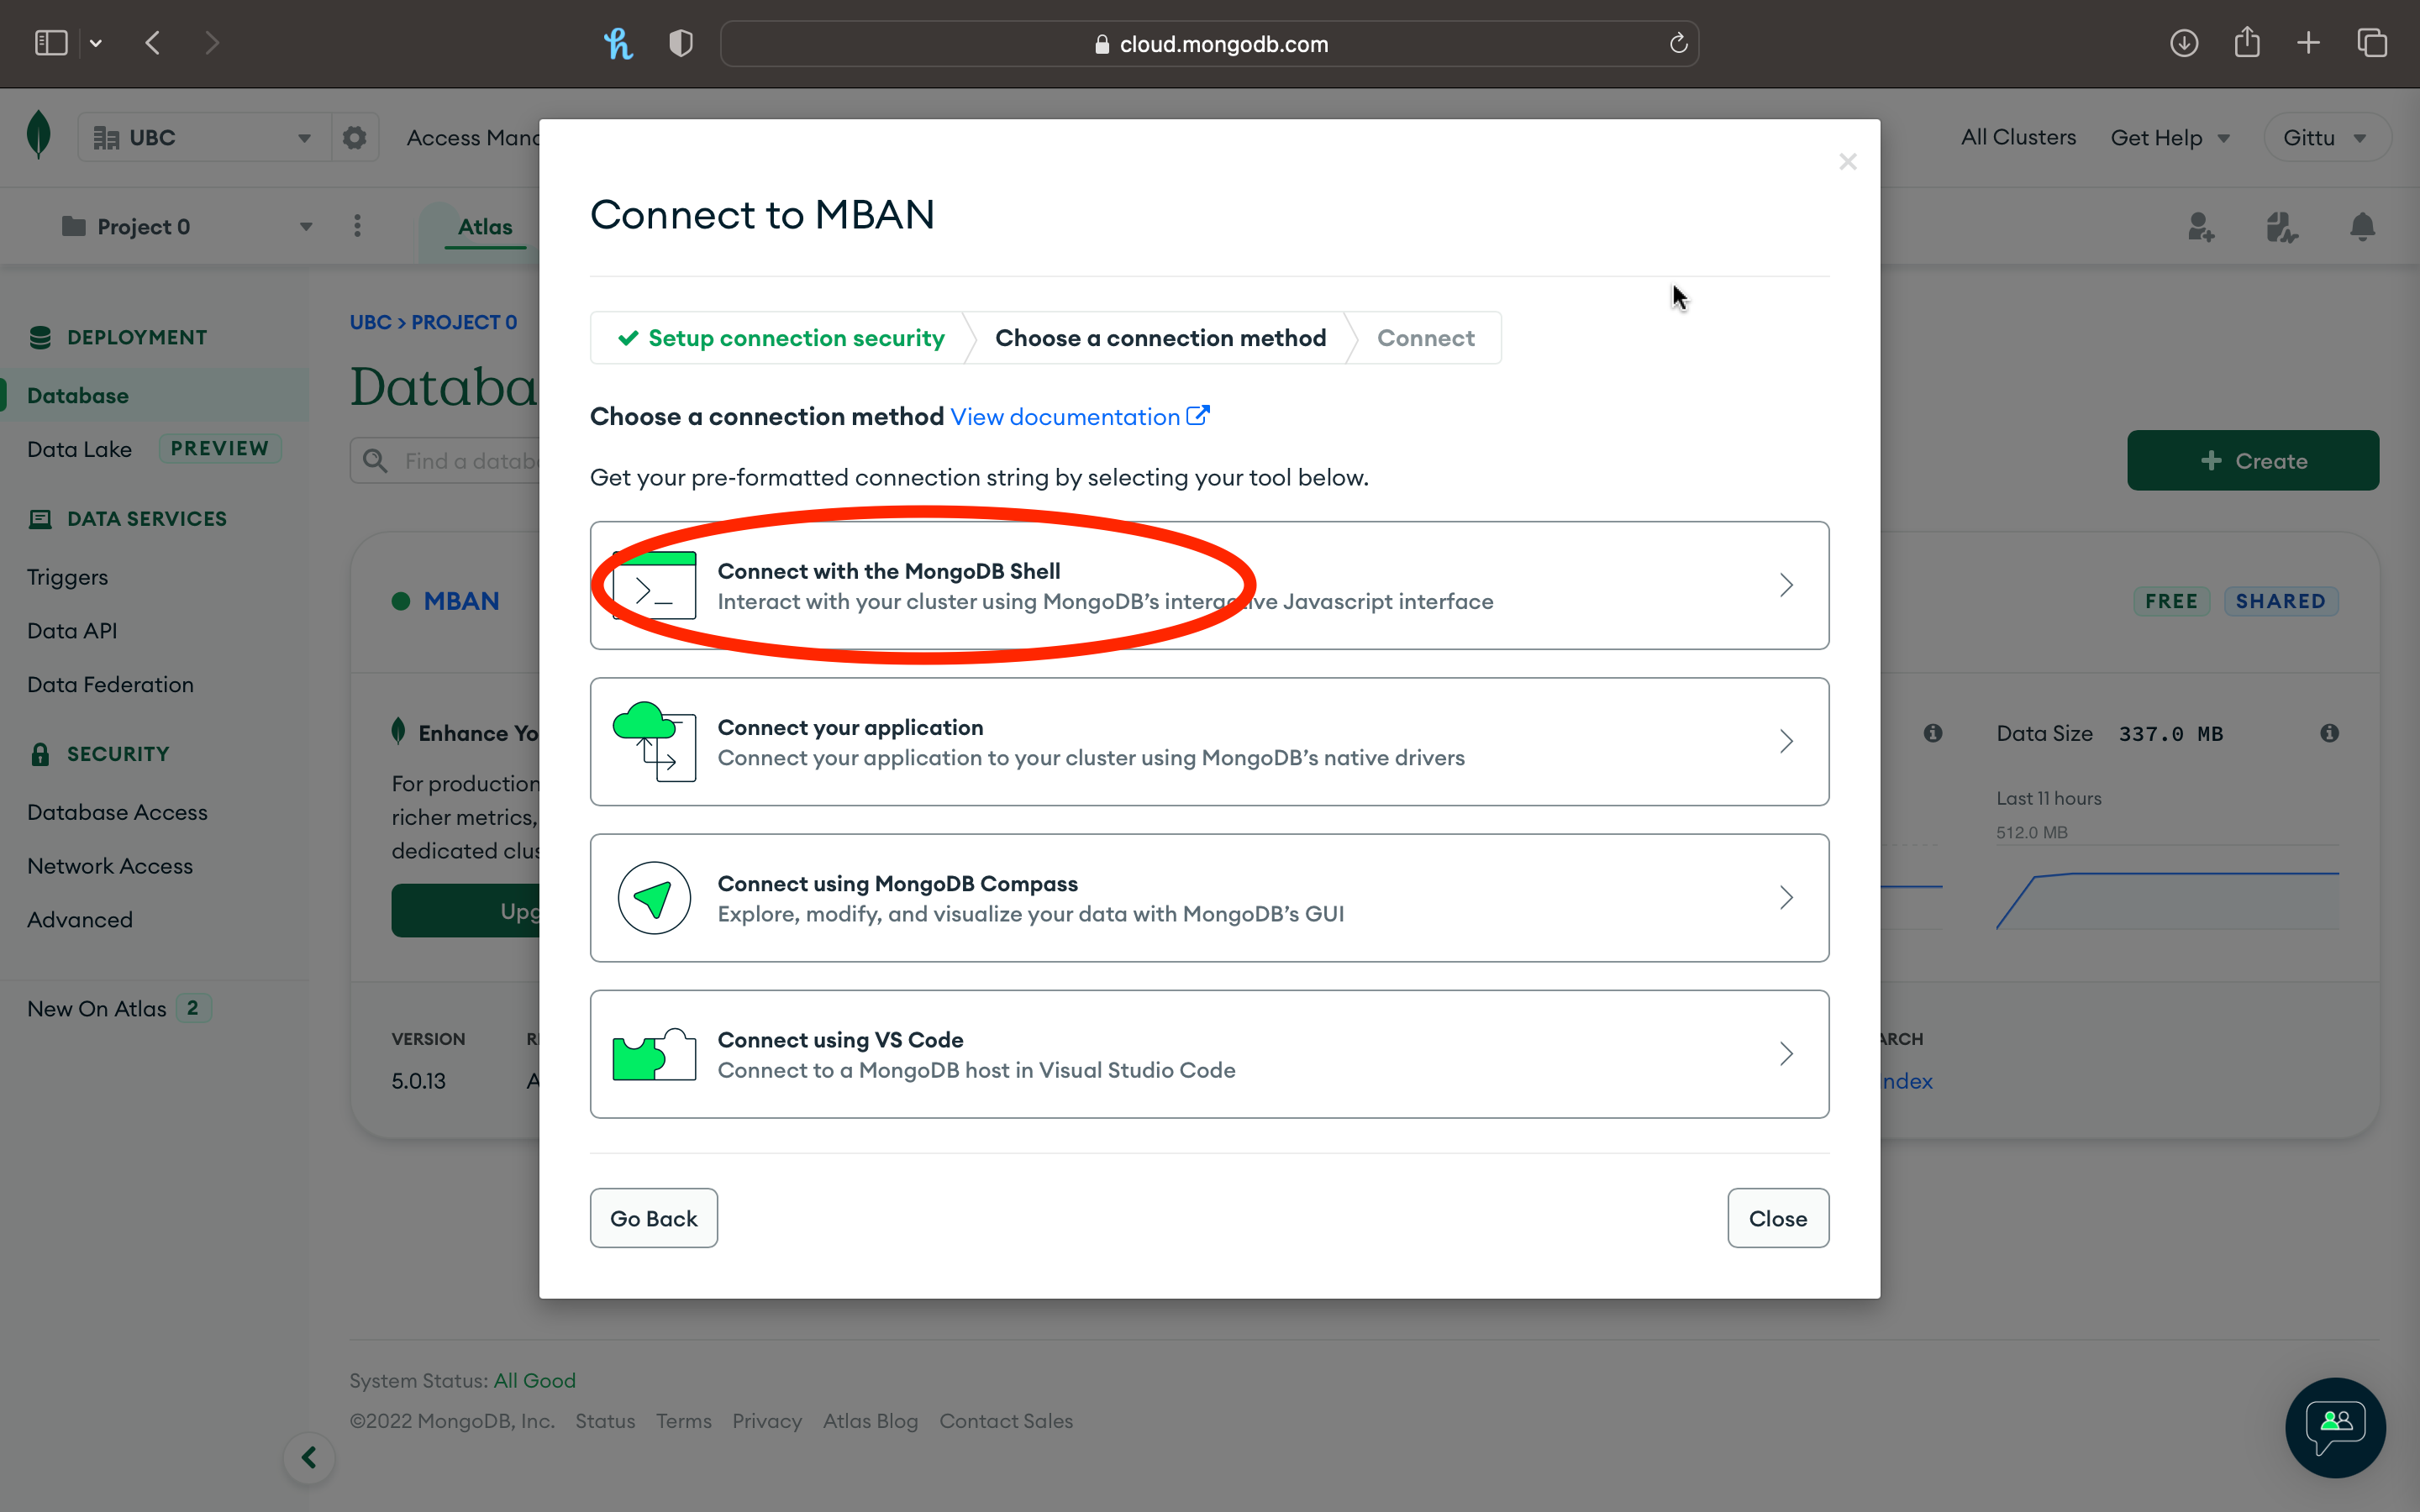
After you click on that first option, you will be given the instructions on what all needs to be done (both for windows and mac, and I will be showing the instructions). The first being
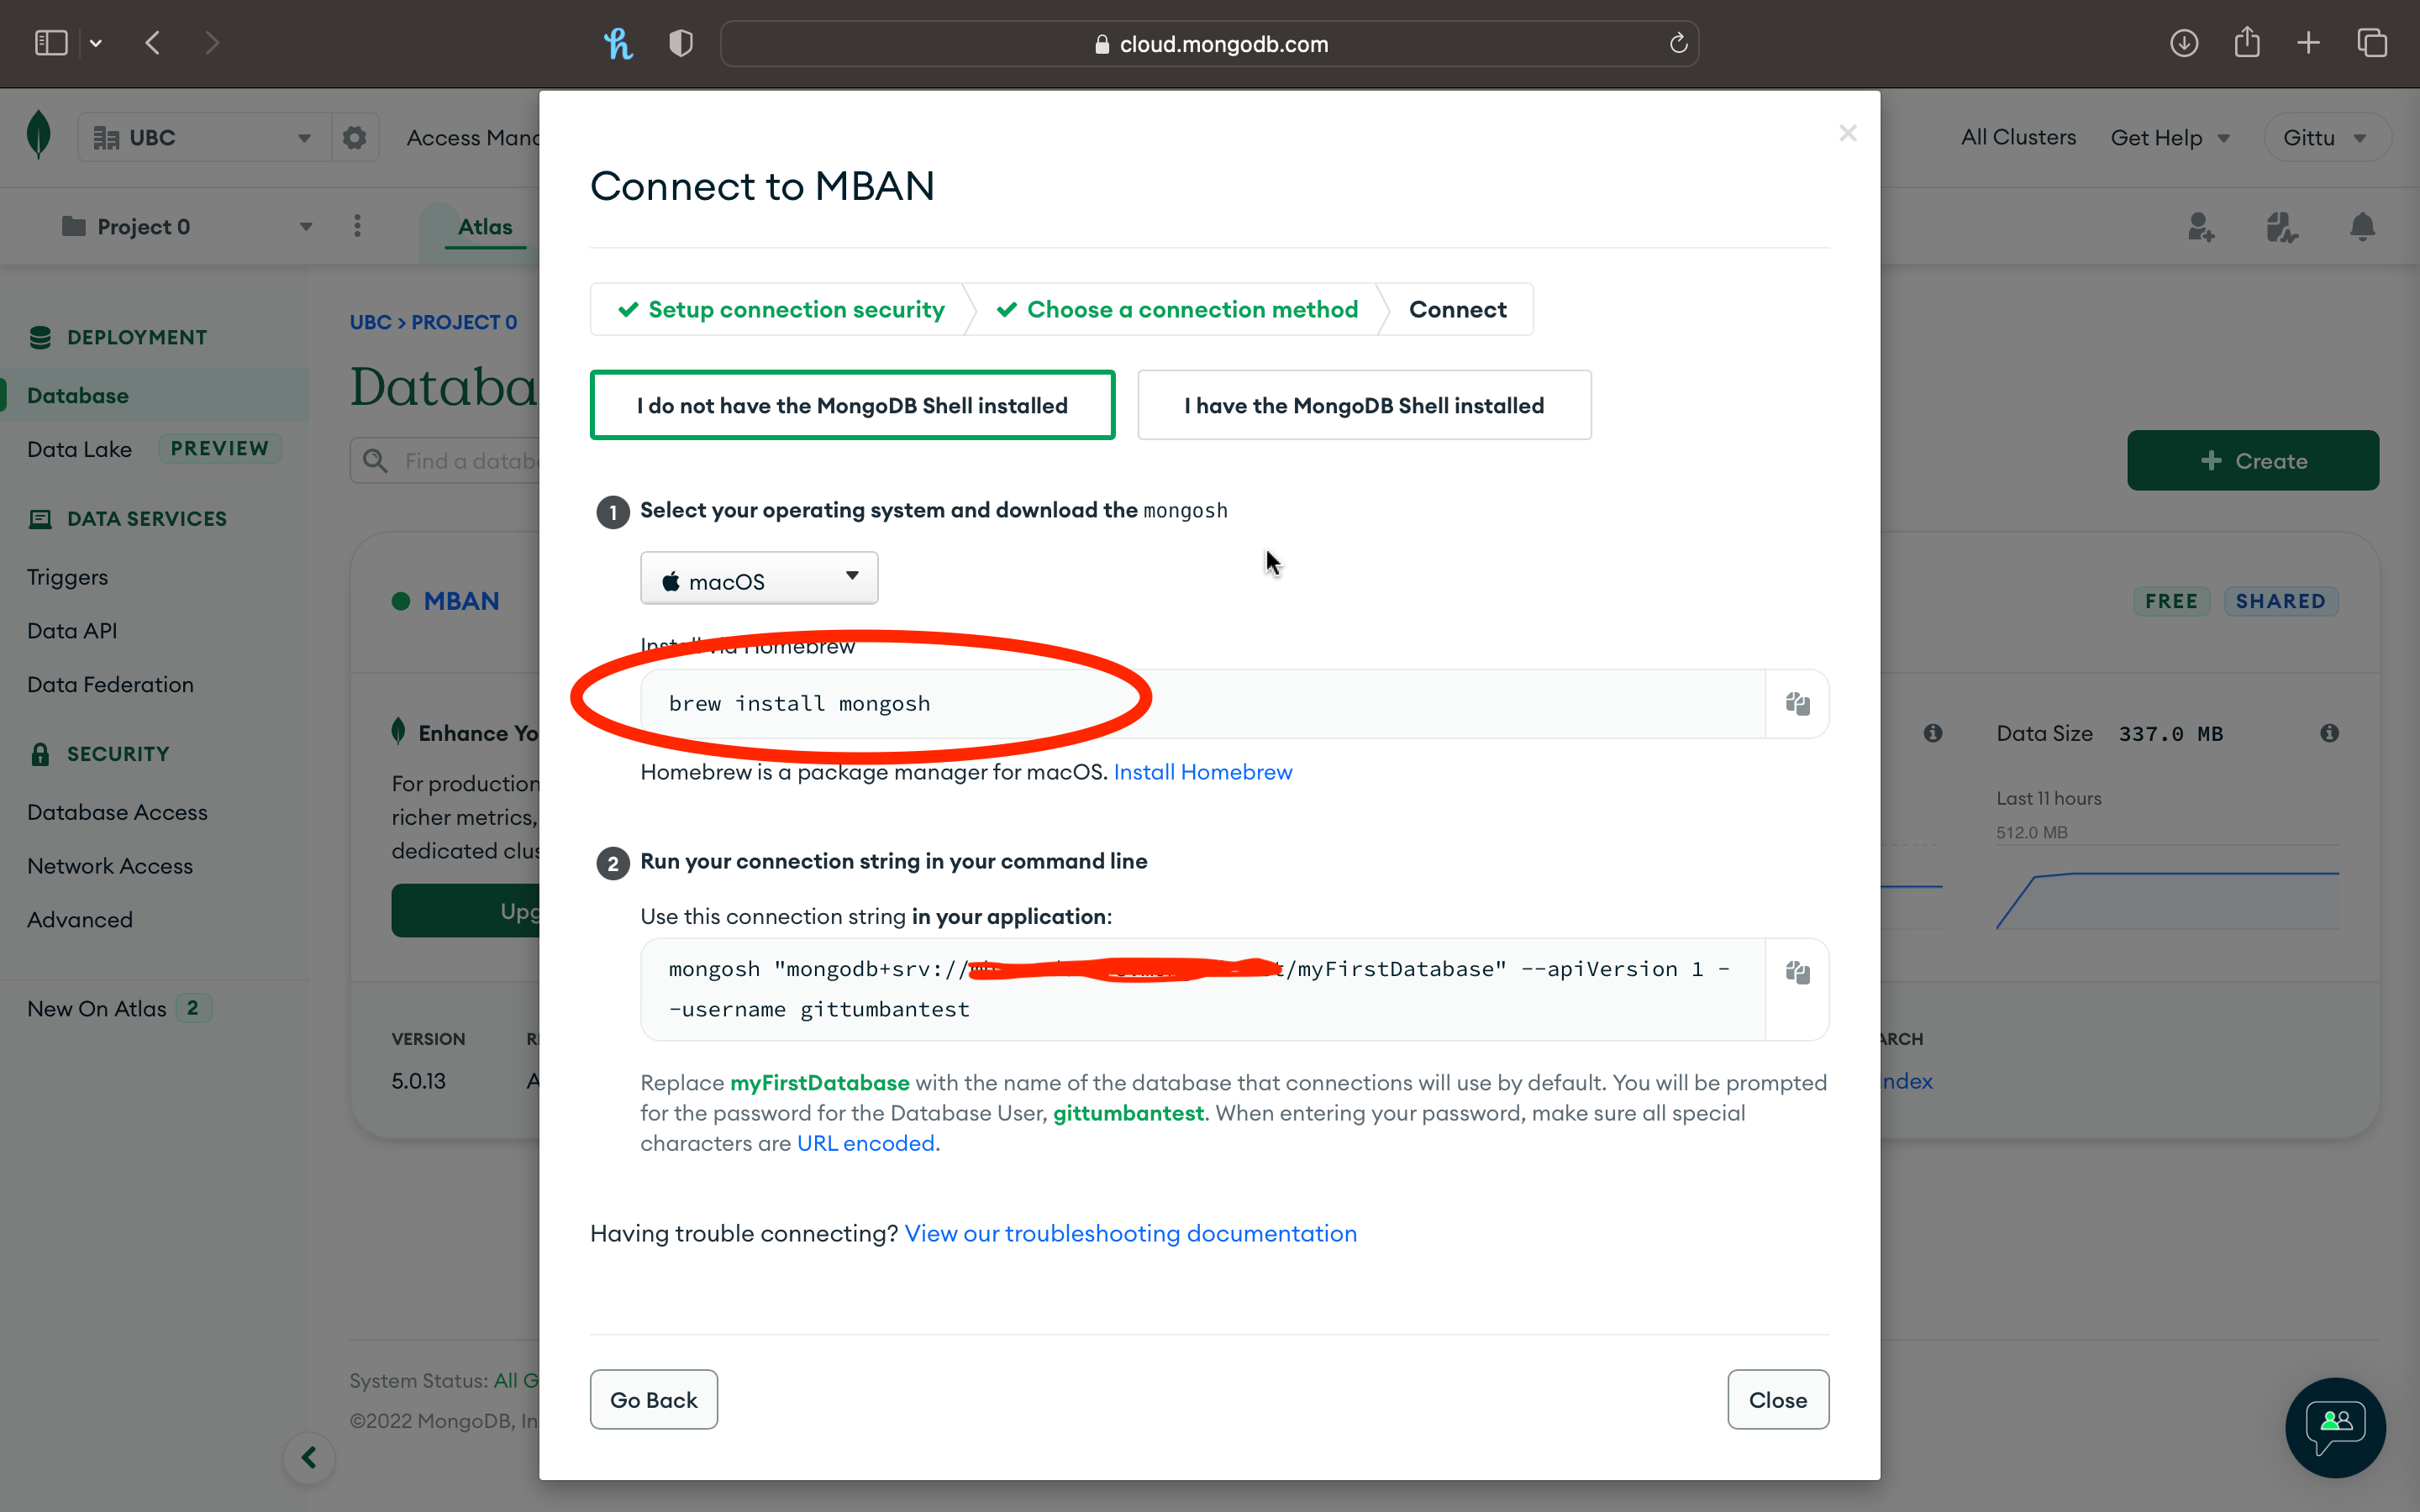
If you encounter issues with brew installation, please check FAQS at the end of this page.
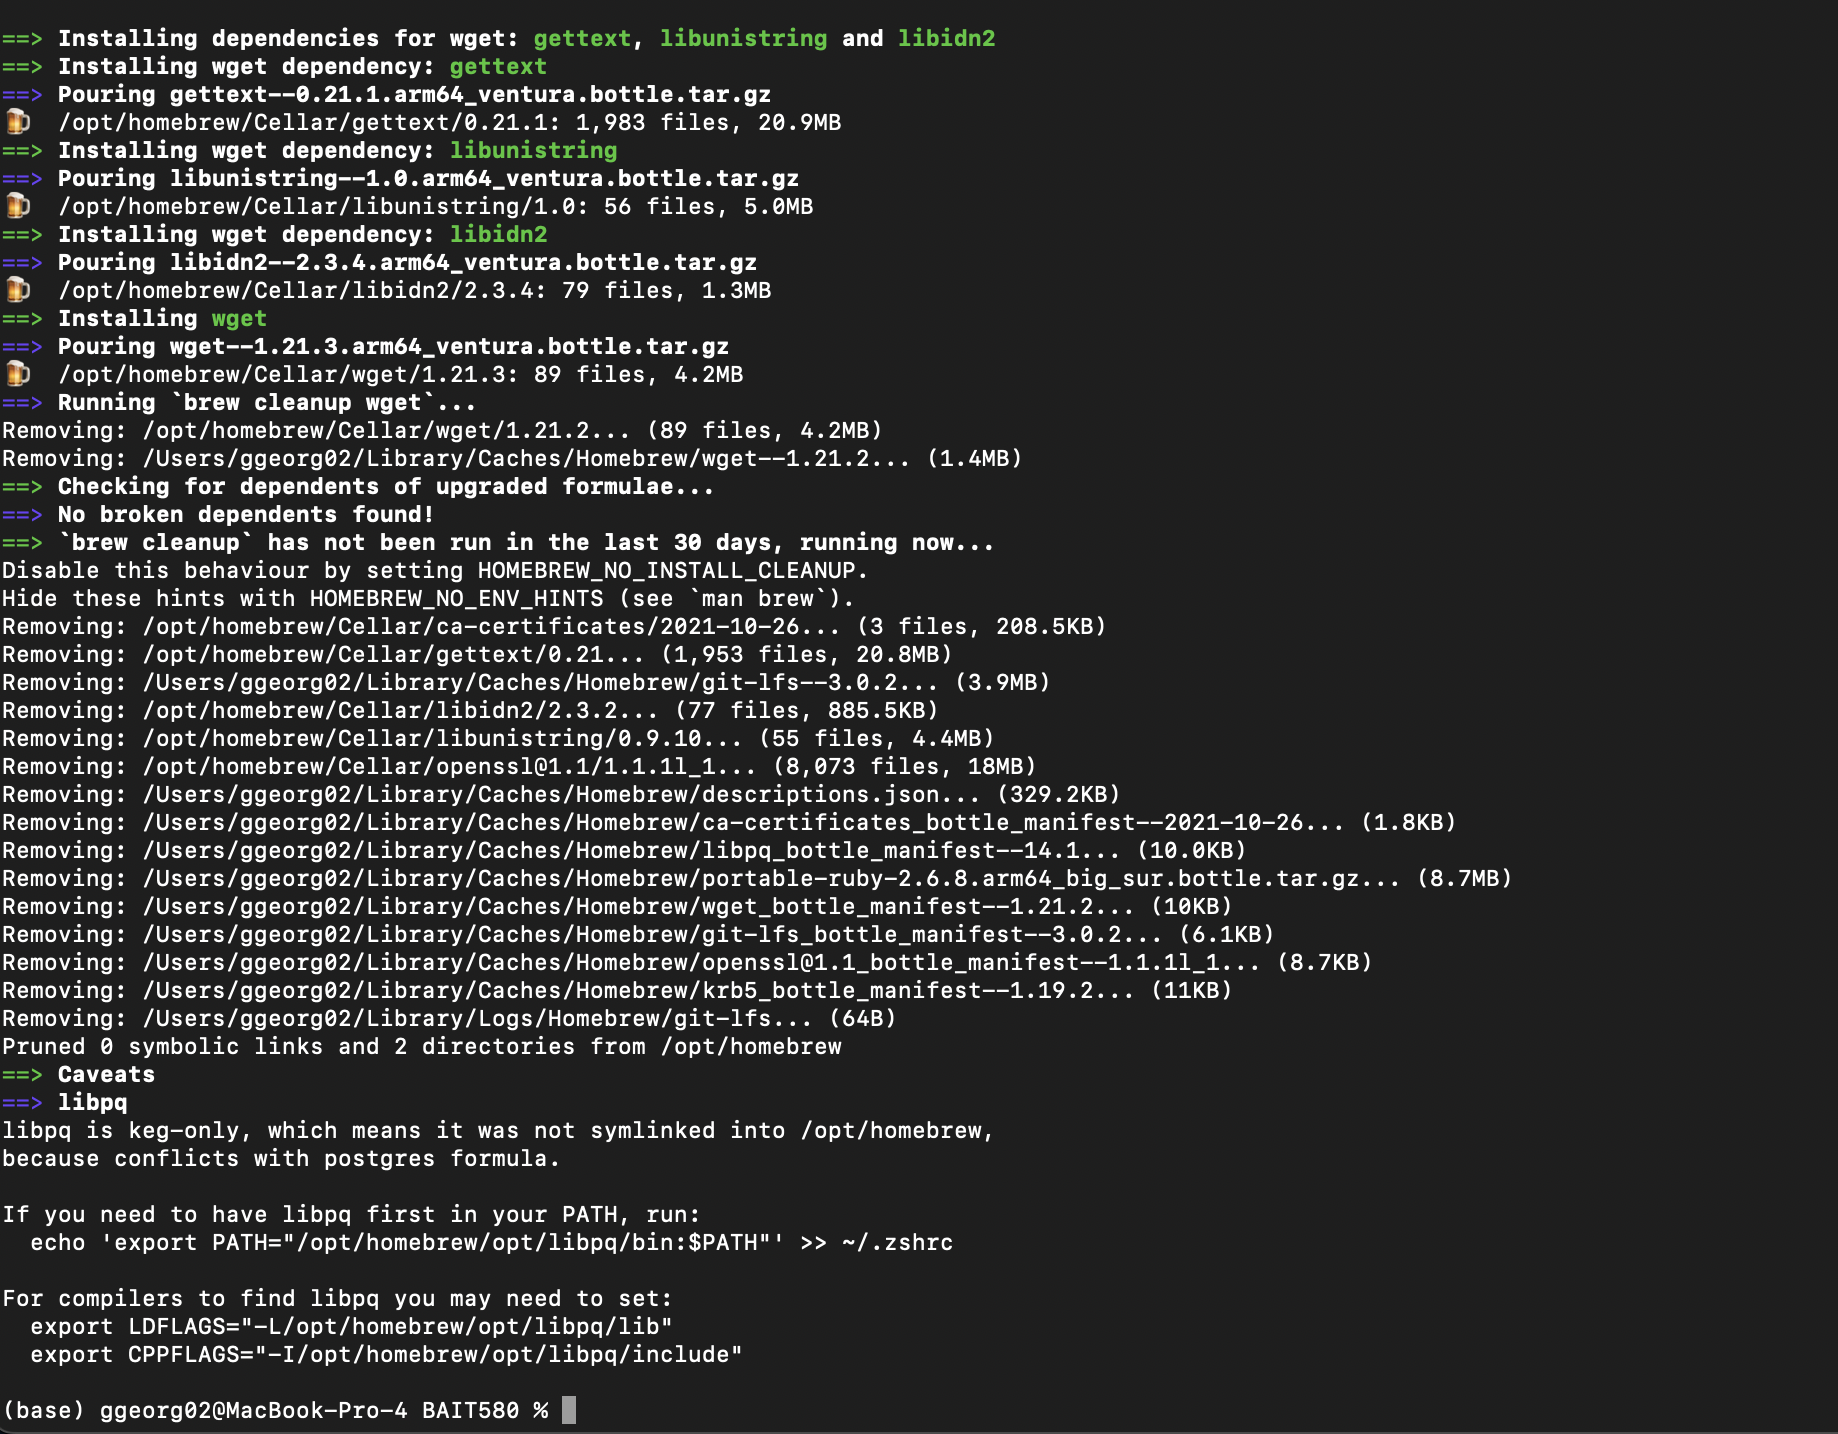
A successful install of brew install mongosh look like the screenshot below;
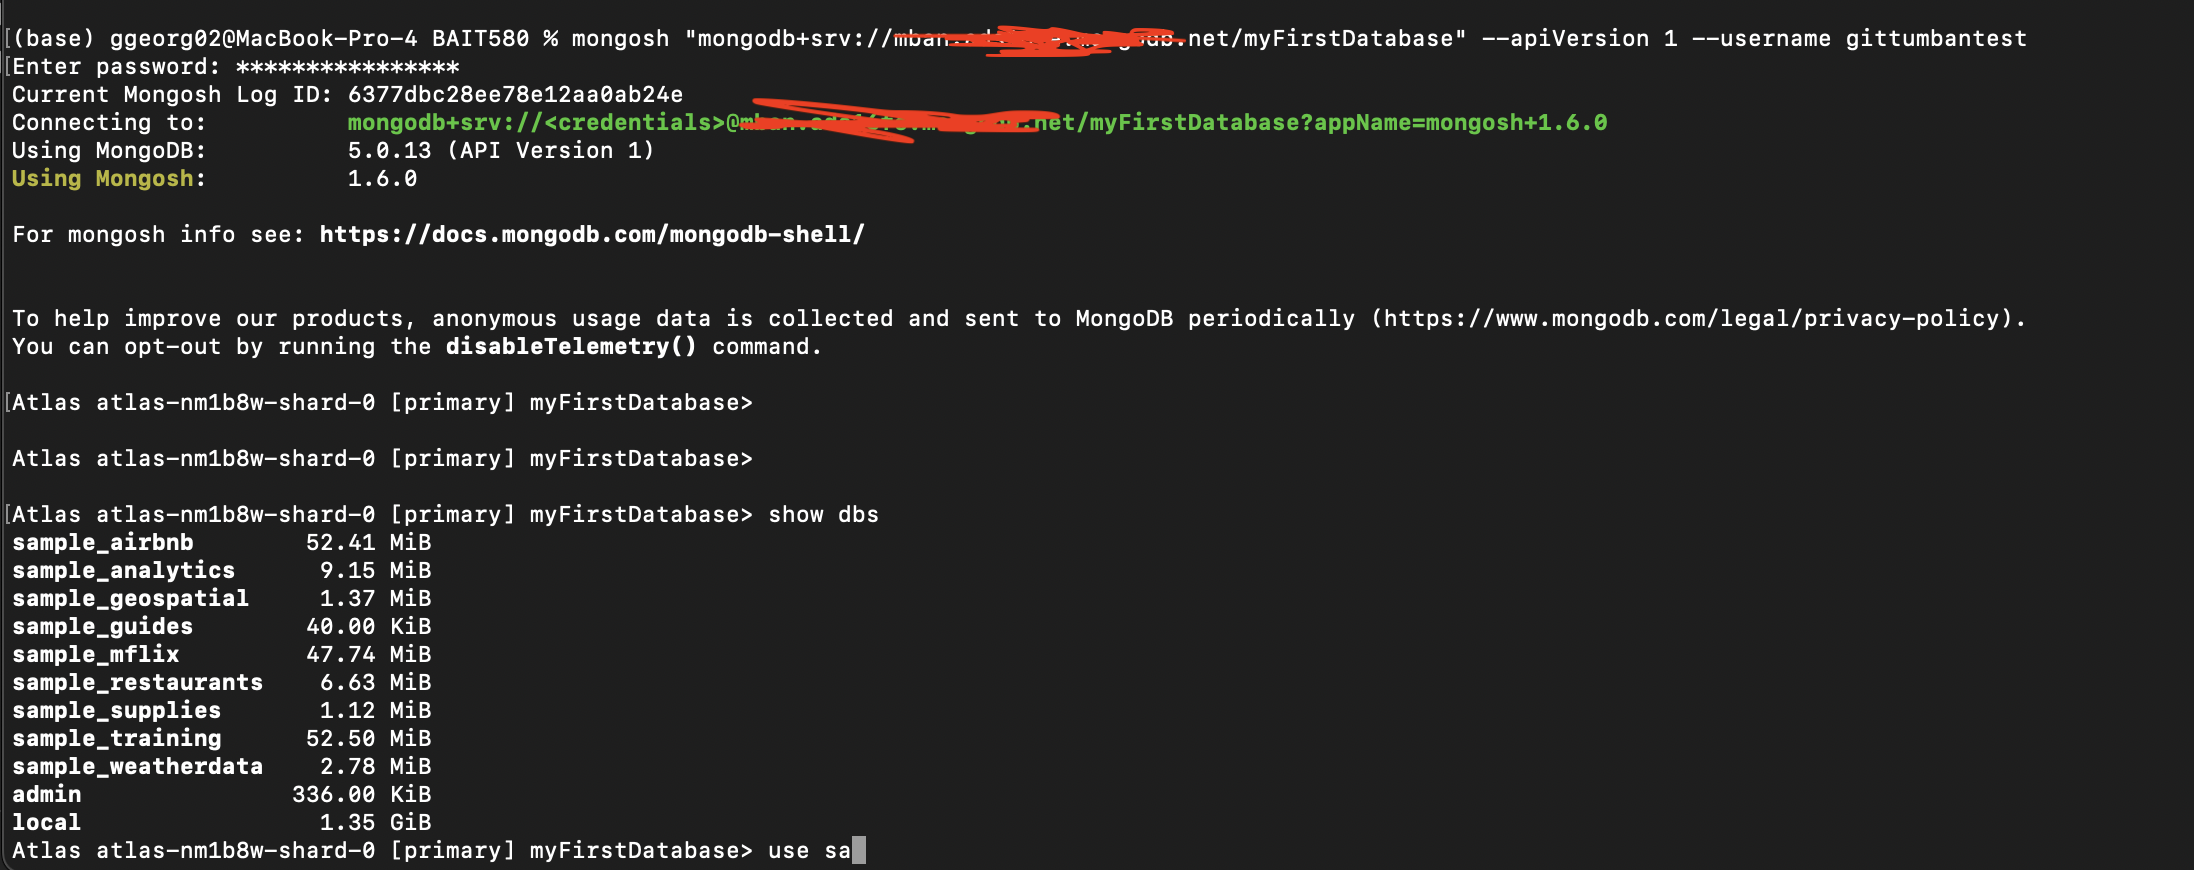
Once you finish your brew install mongosh, you run the second step from the above screenshot in running the connection string from the terminal. Here is what it looked like when I ran it from my terminal.
FAQ#
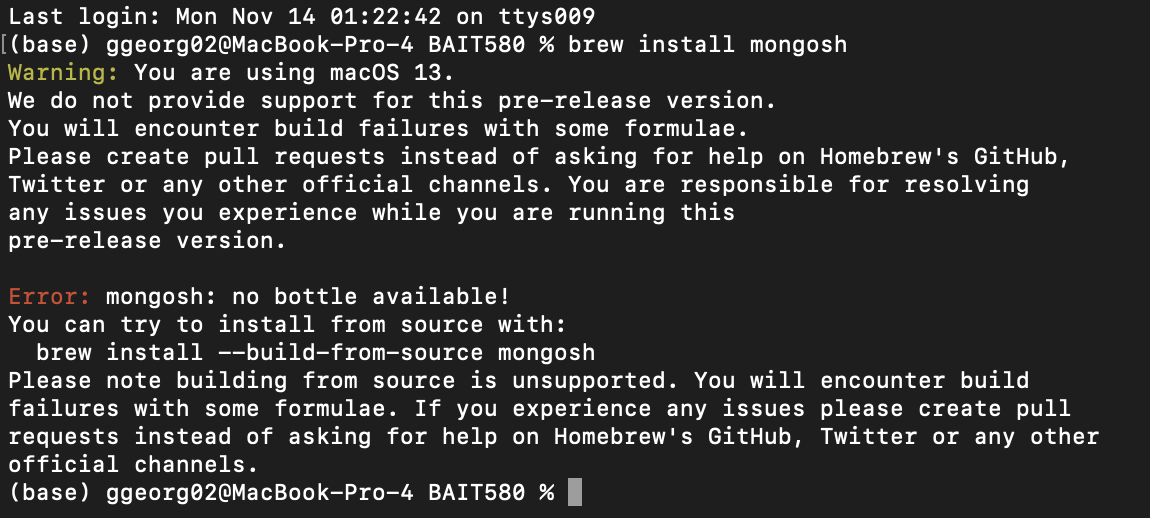
If you run into the following issue with brew install mongosh (like the error below), your current xcode doesn’t support, so you want to upgrade it. Here are the steps that I took to upgrade it.
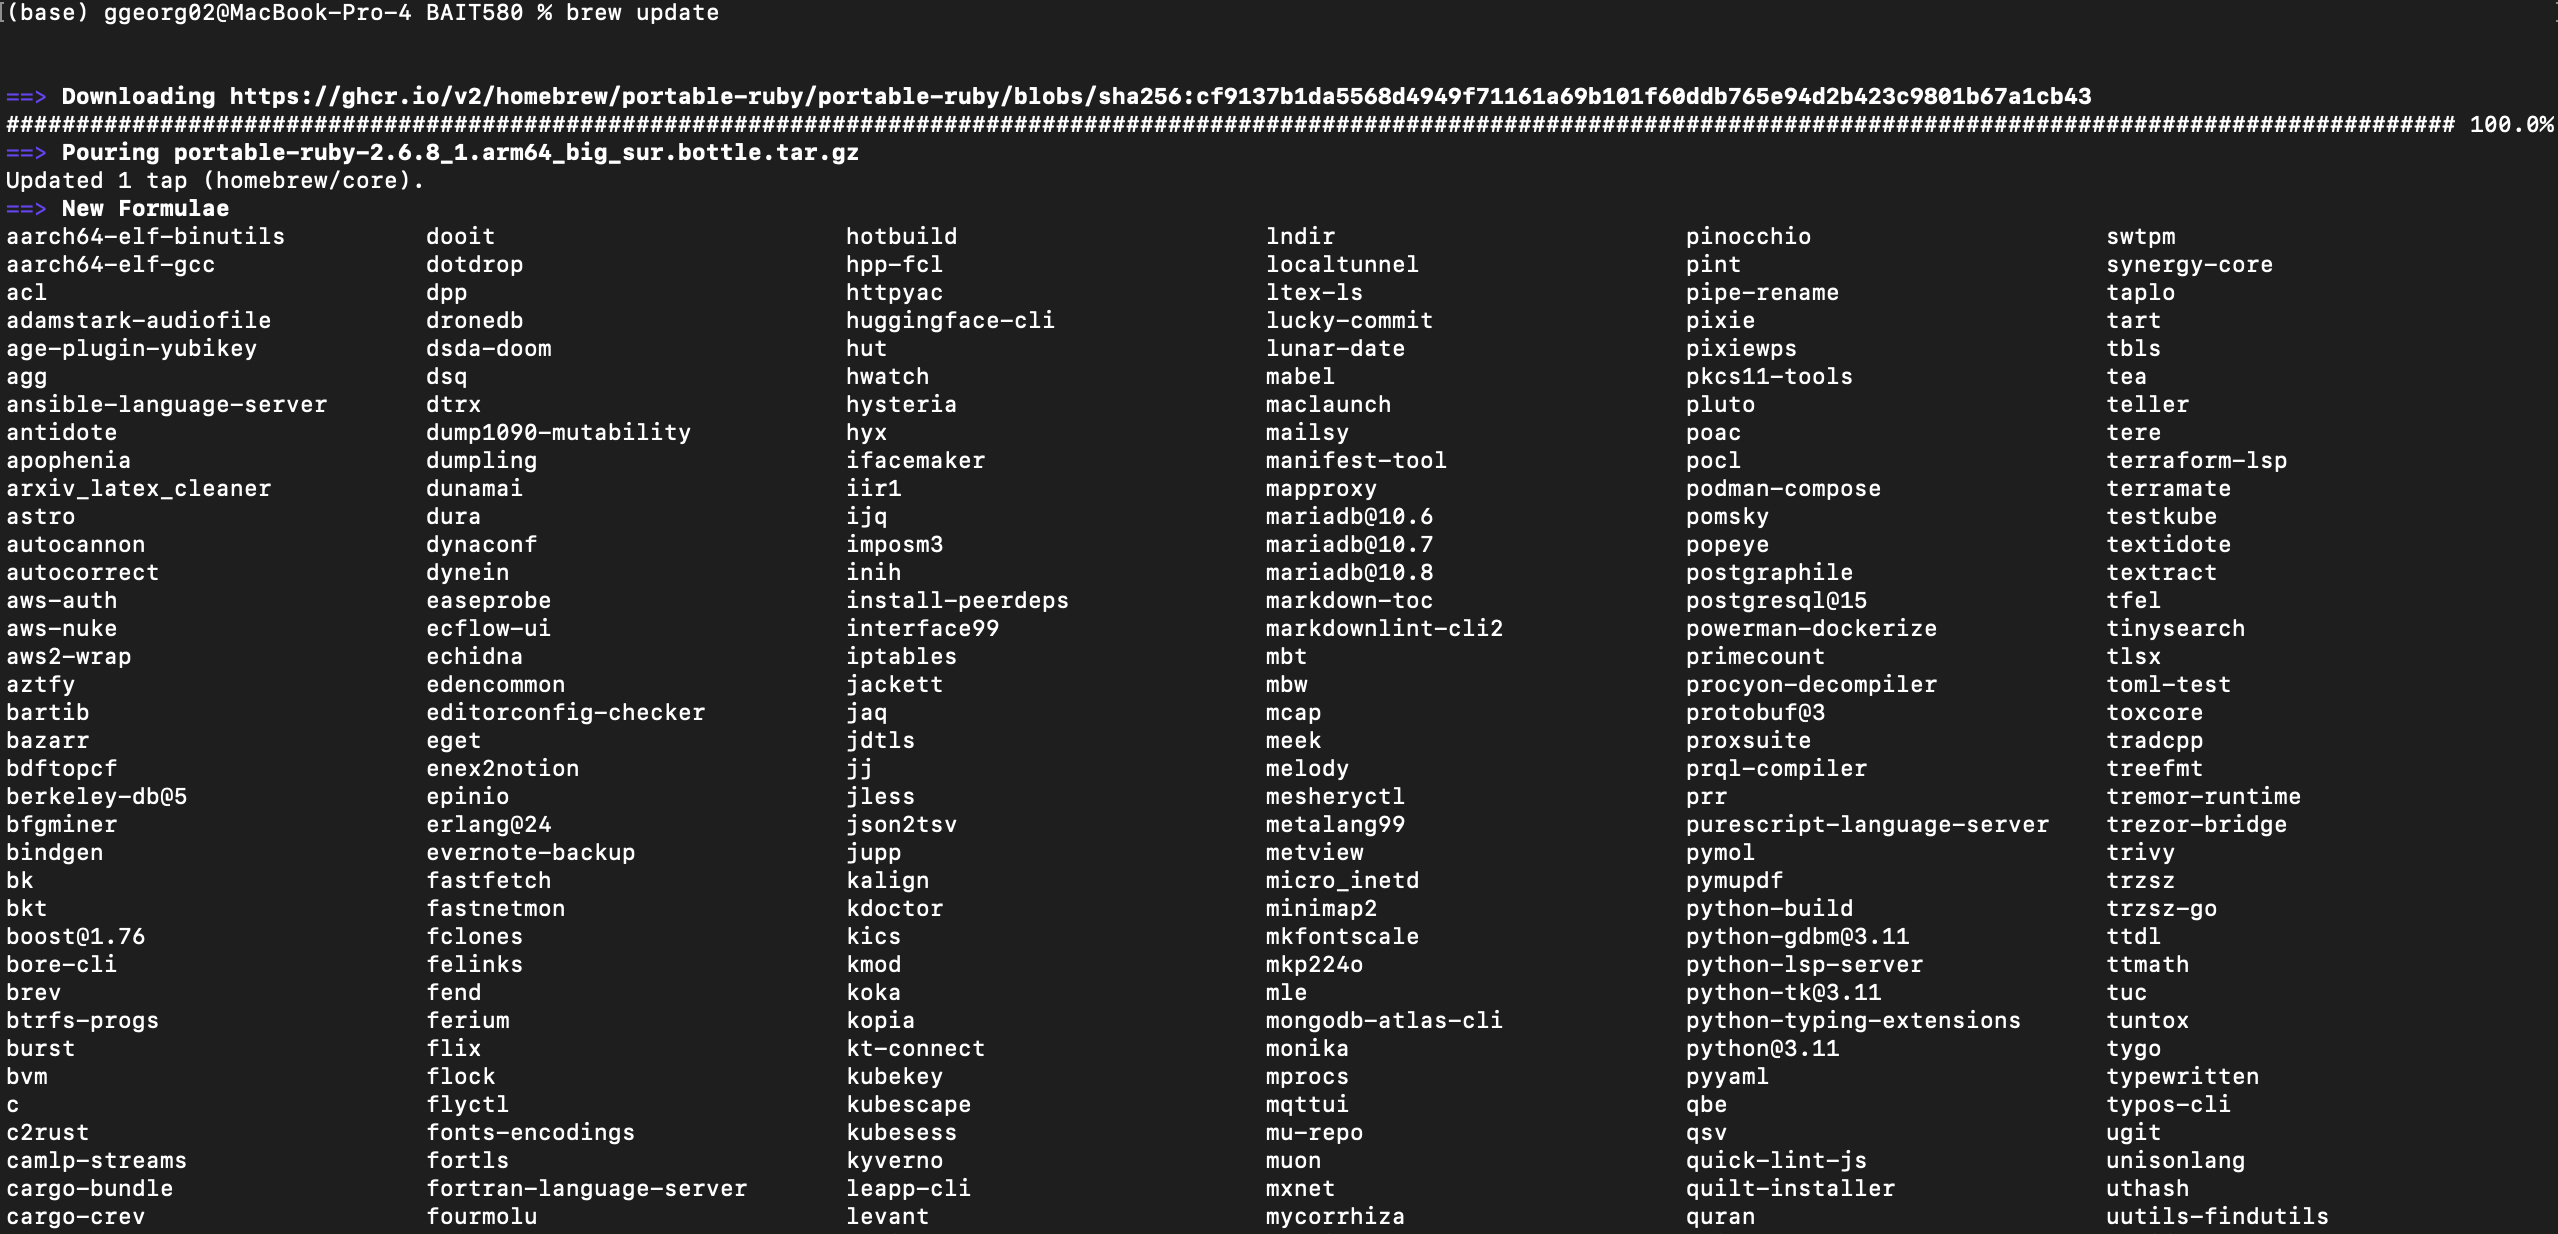
First, do brew update from the terminal. This is what it looks like;
Connect with MongoDB compass (OPTIONAL)#
Here I will show you how to connect to it using MongoDB compass. Click on Connect with MongoDB compass.
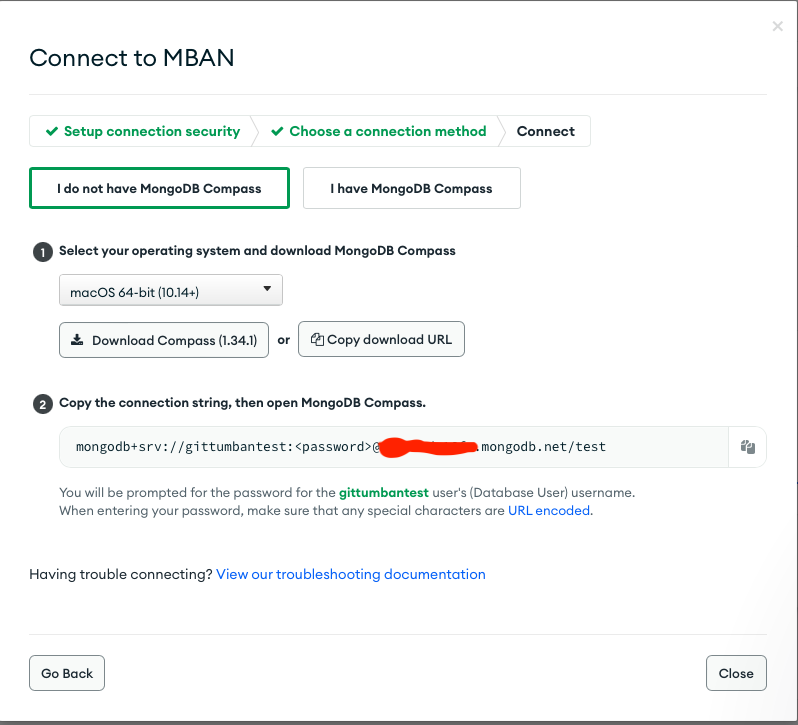
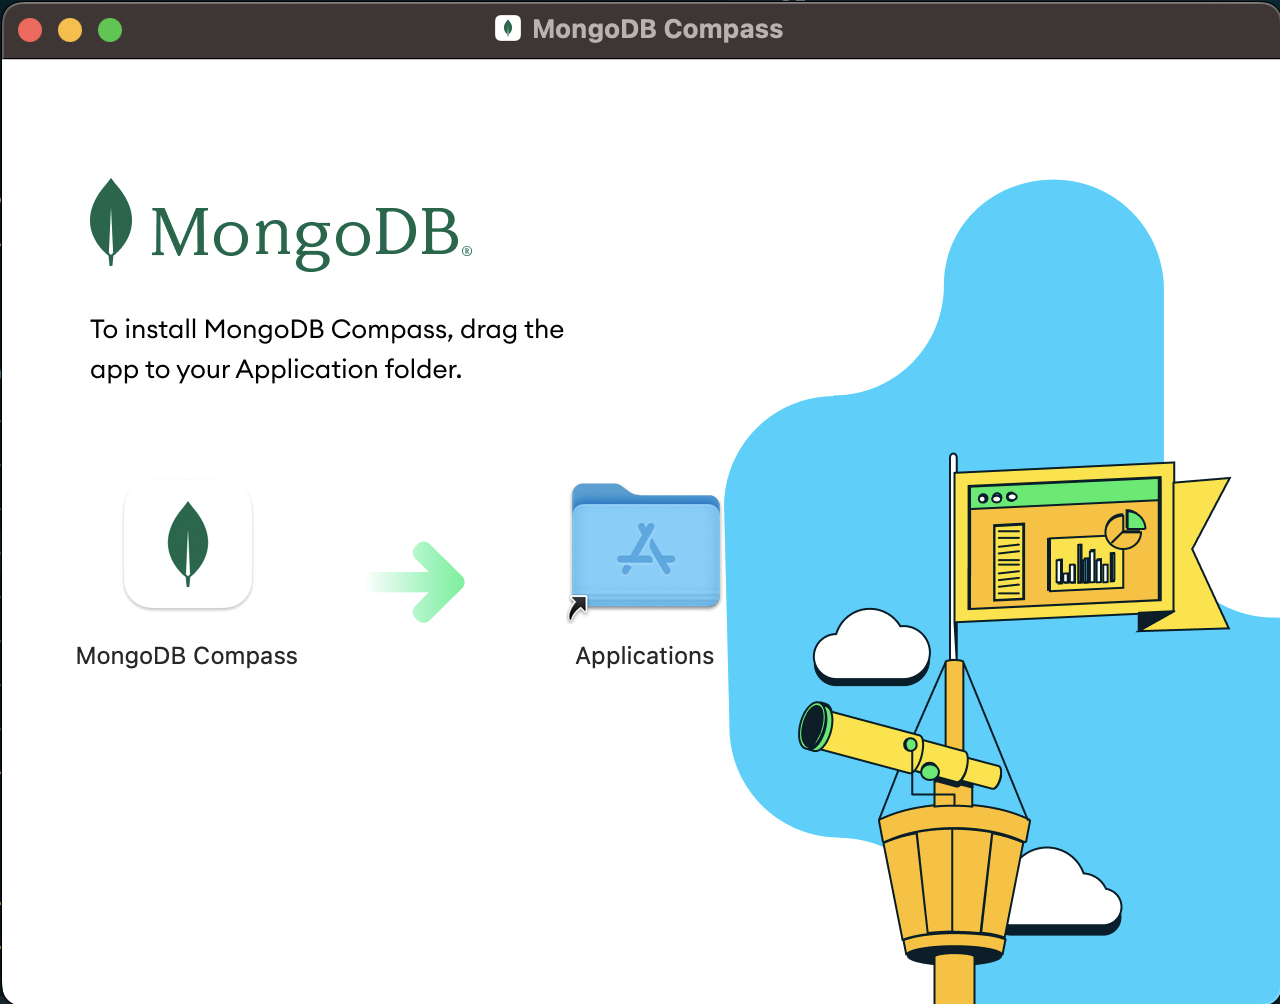
Follow the instructions in the screenshot; We will start with the first step to download compass software - I am using a mac, so the screenshots are for mac, but for other operating systems, the installation will be similar to any other installation that you do.
Installation screen on mac;
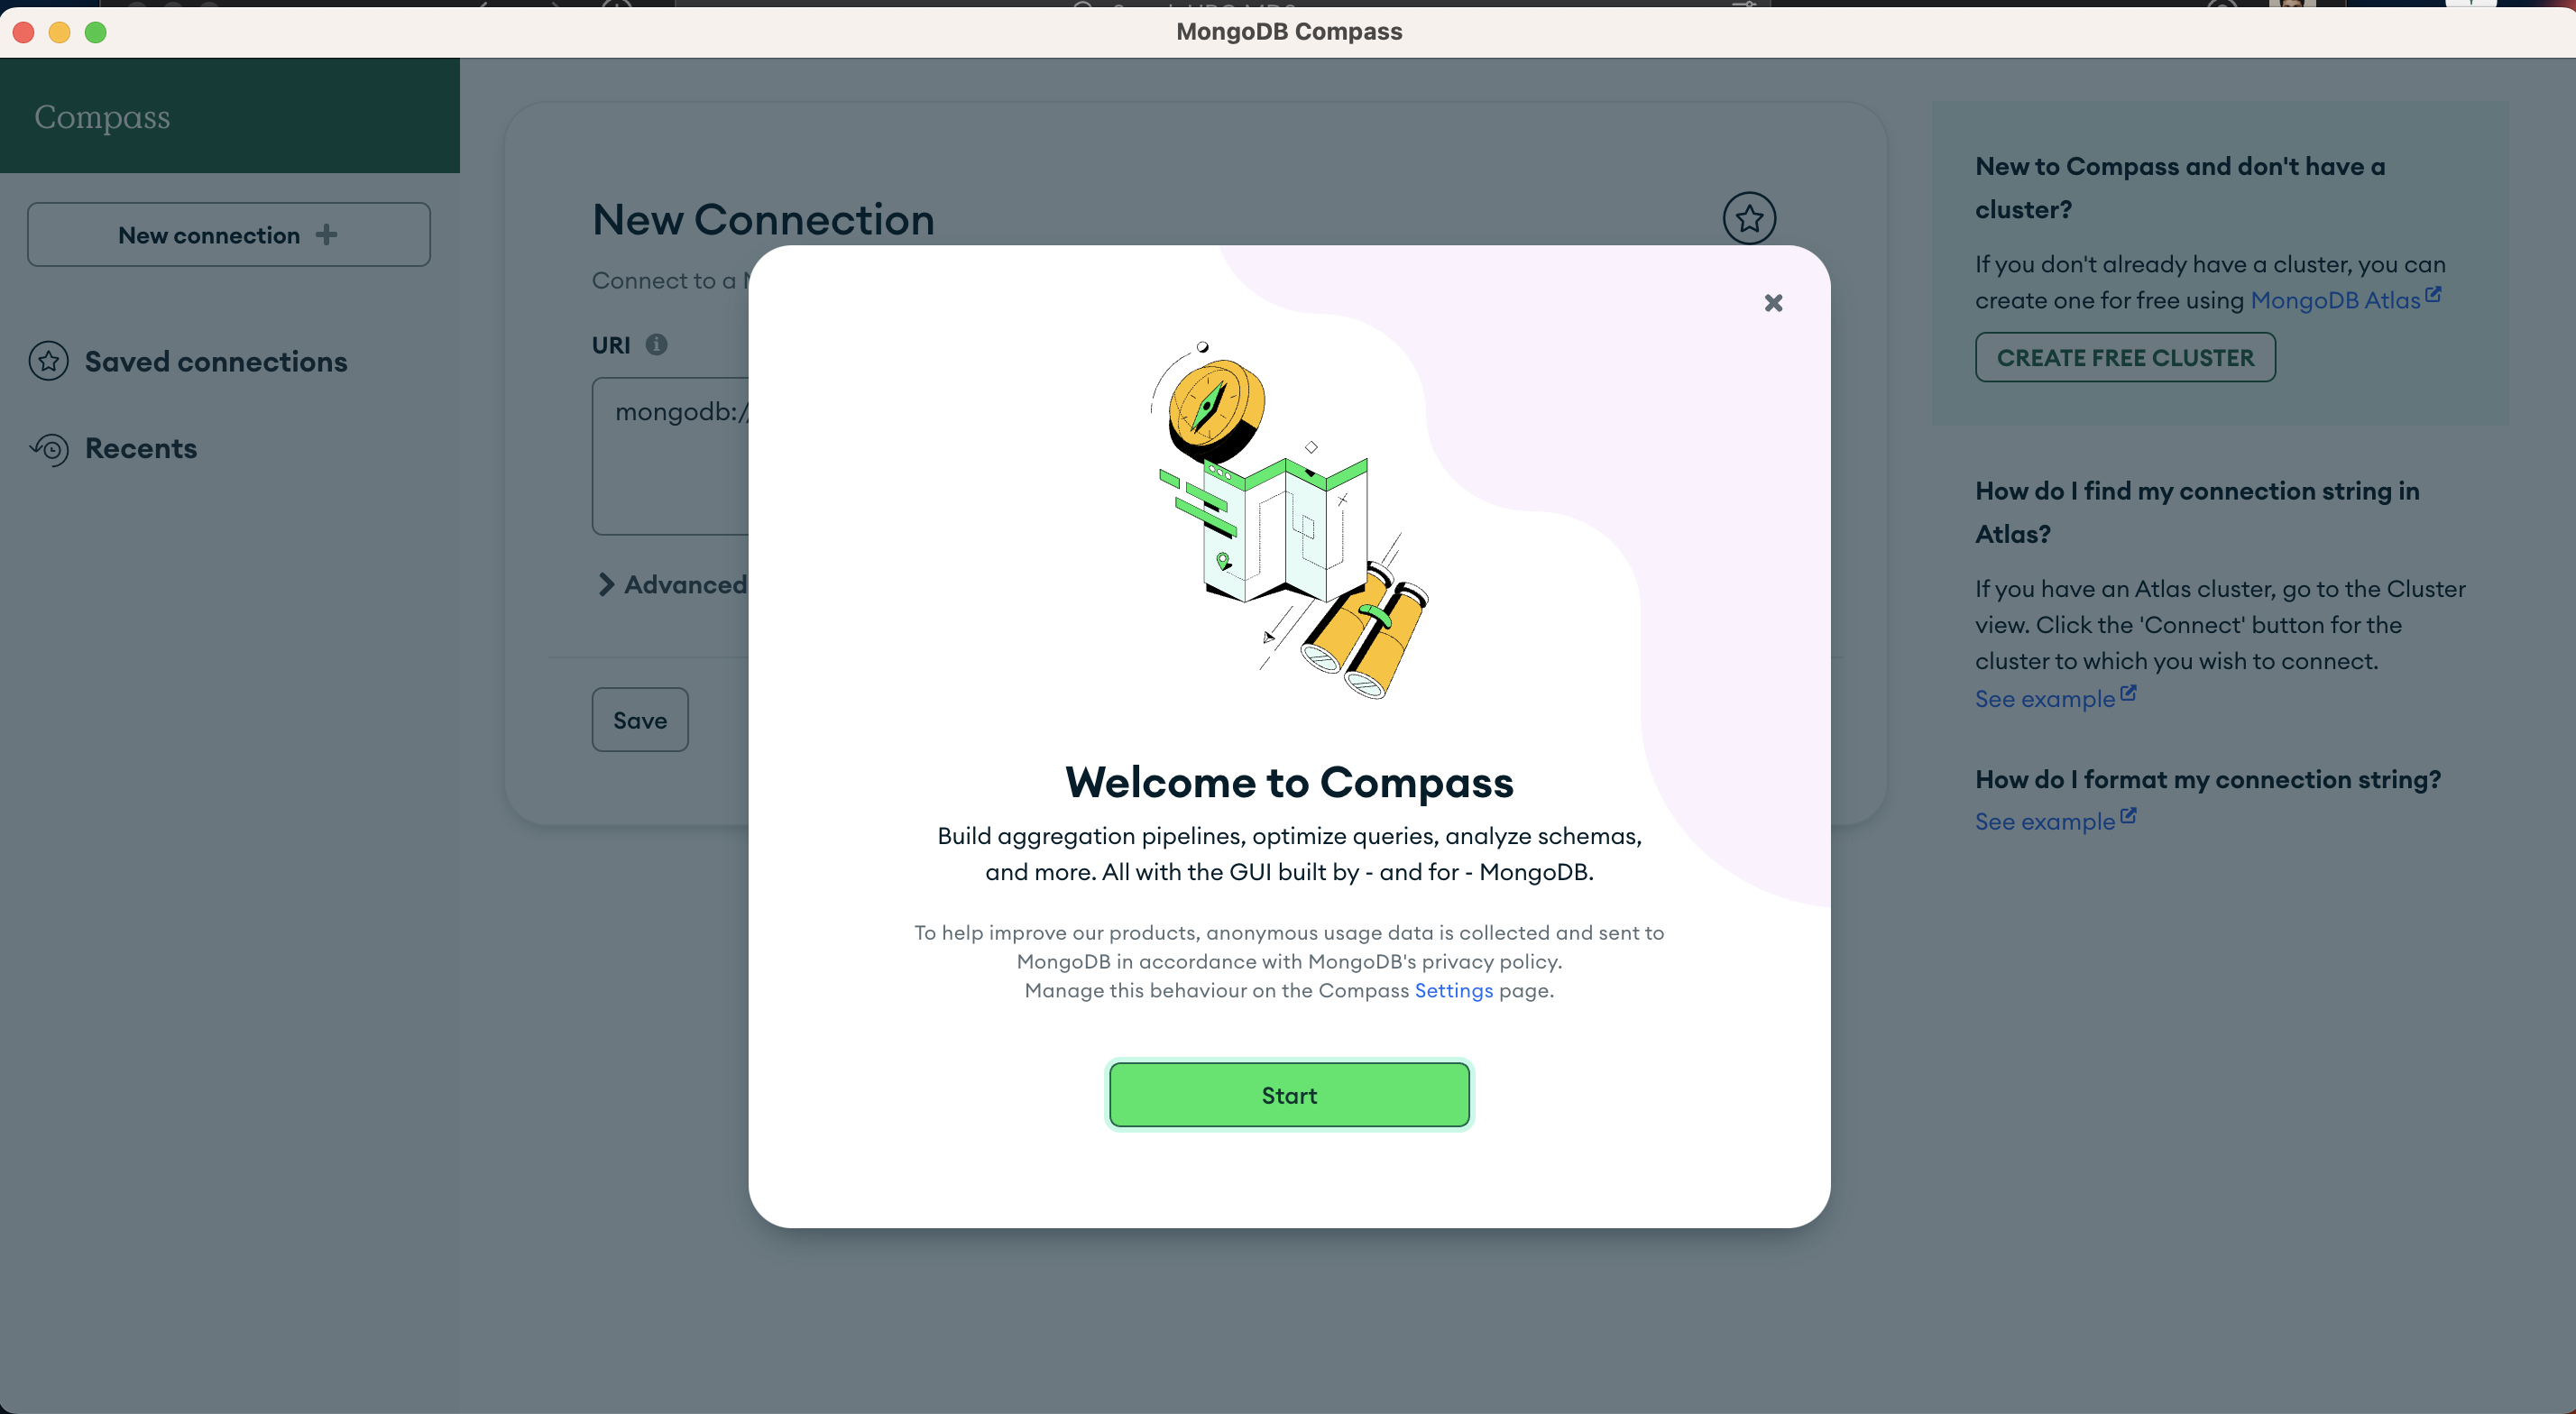
Welcome screen after installation;
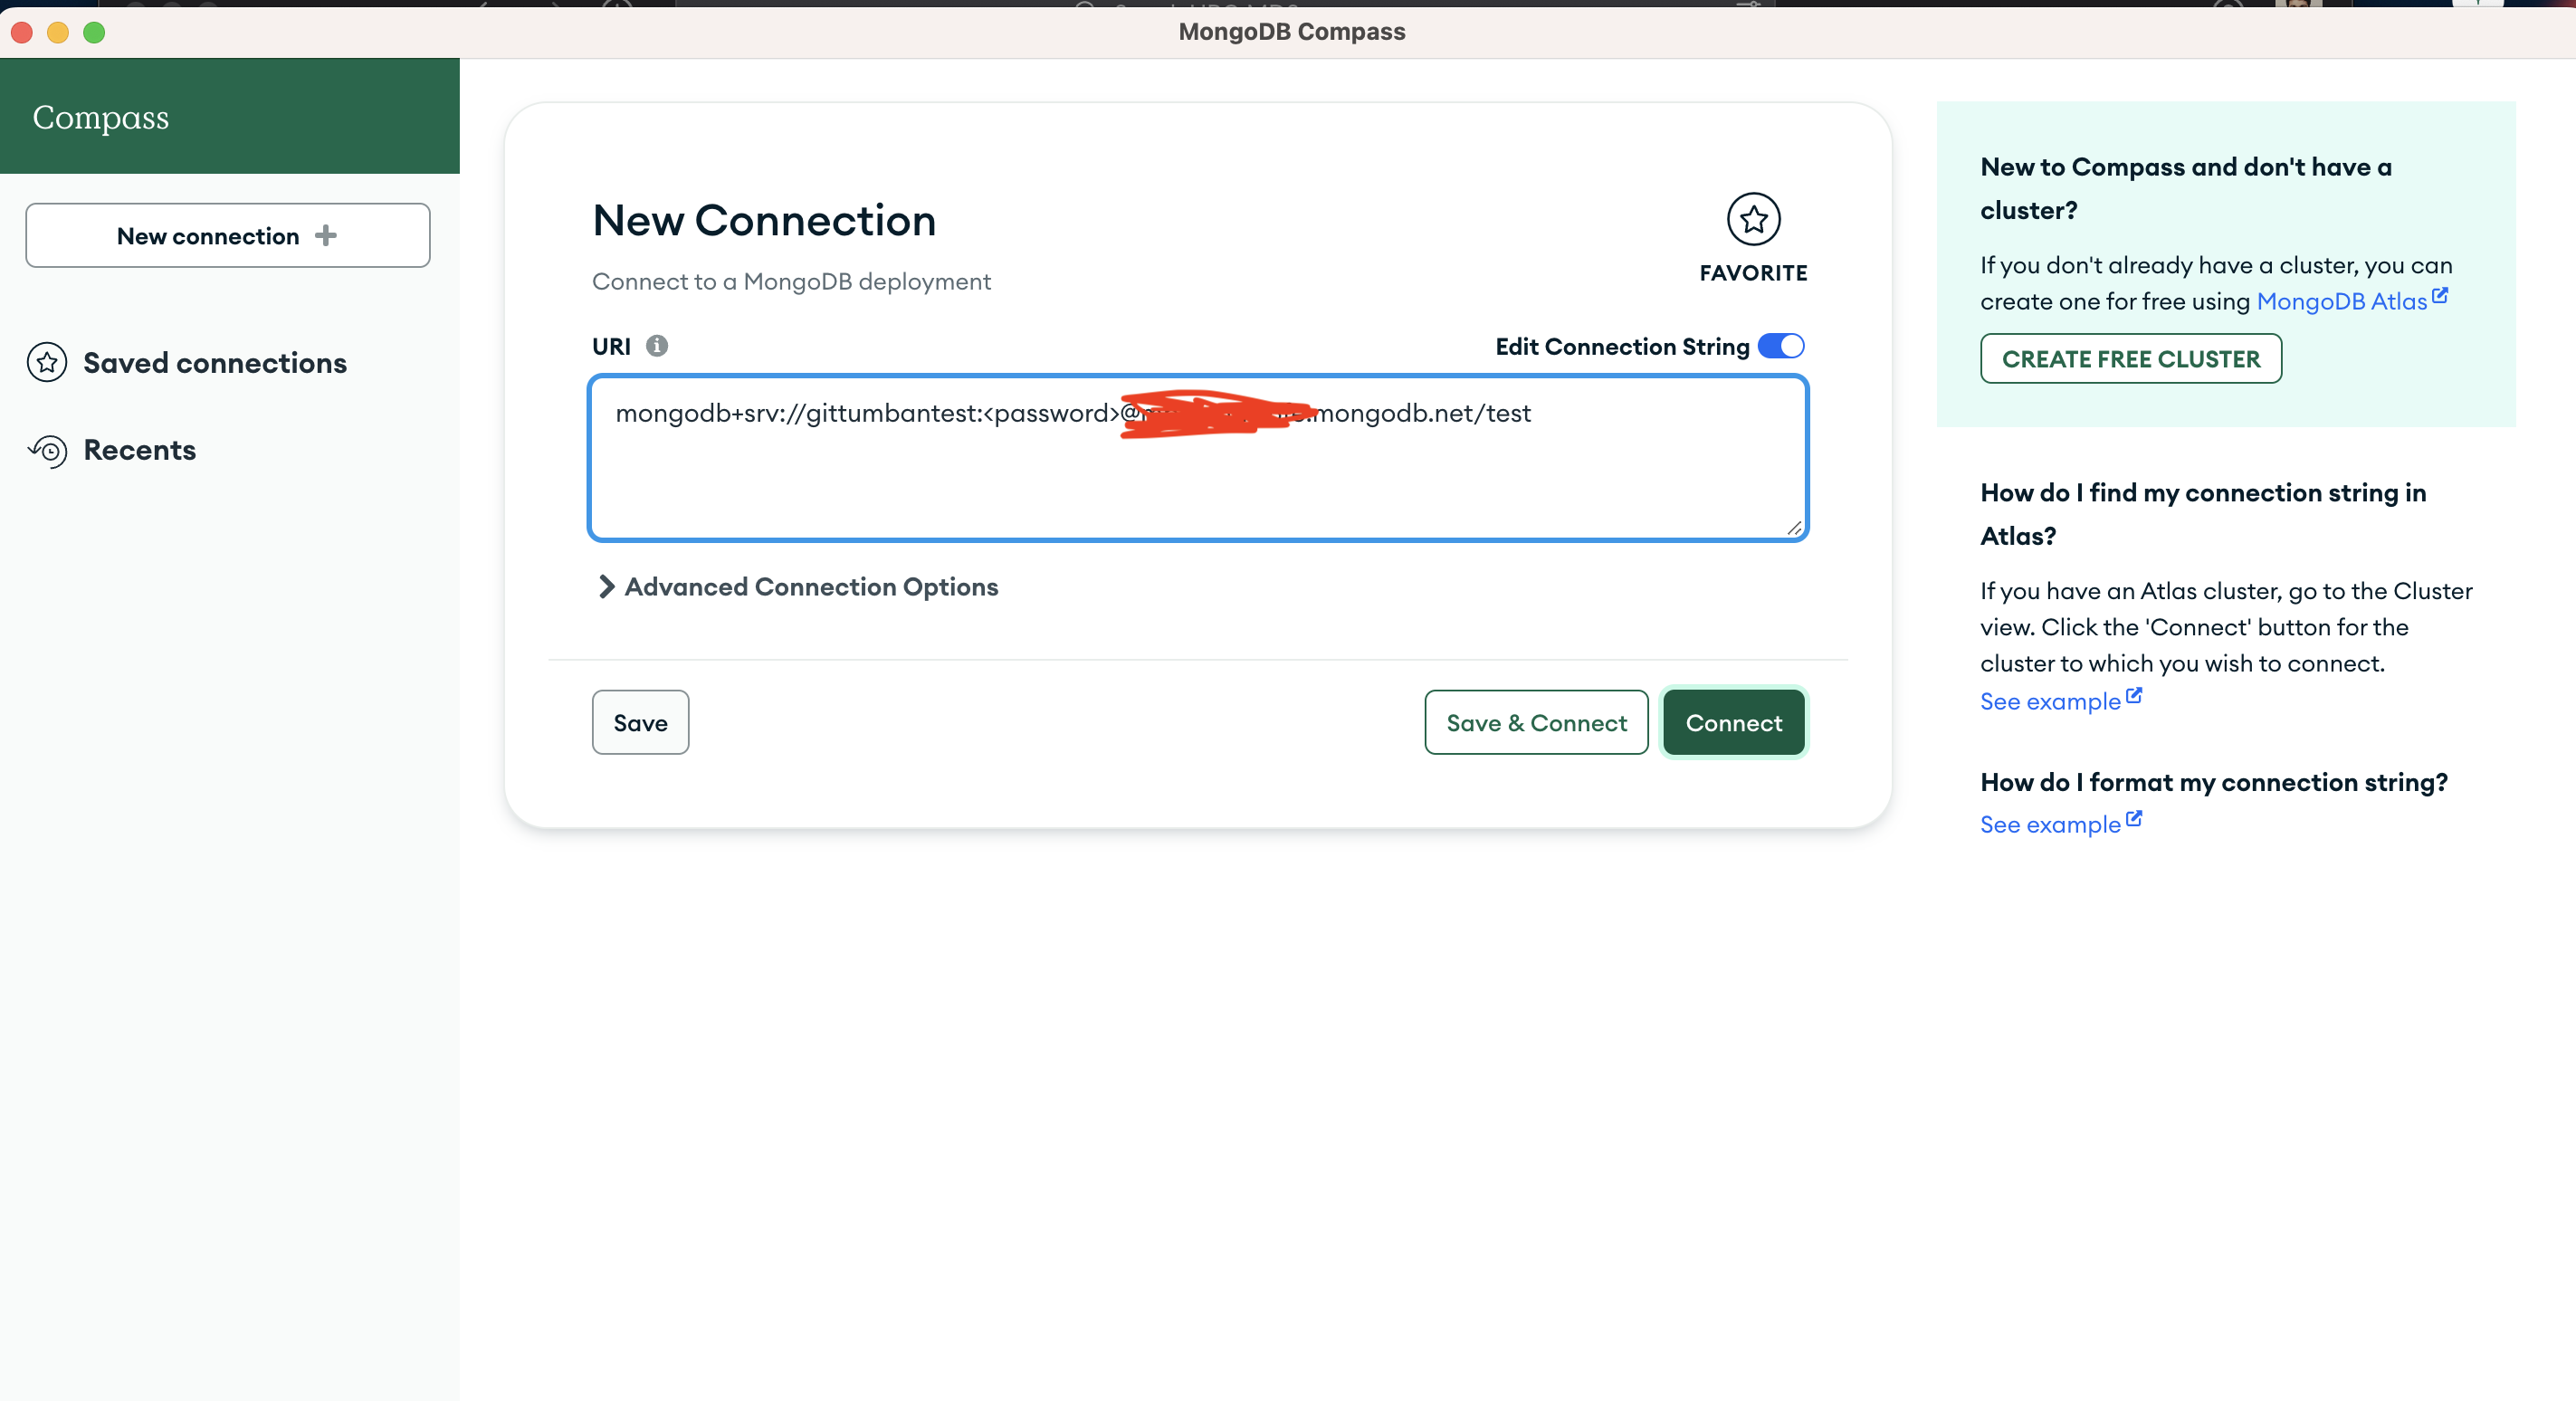
Connect to the database that you set up in the cloud; Here, you are following the second step;
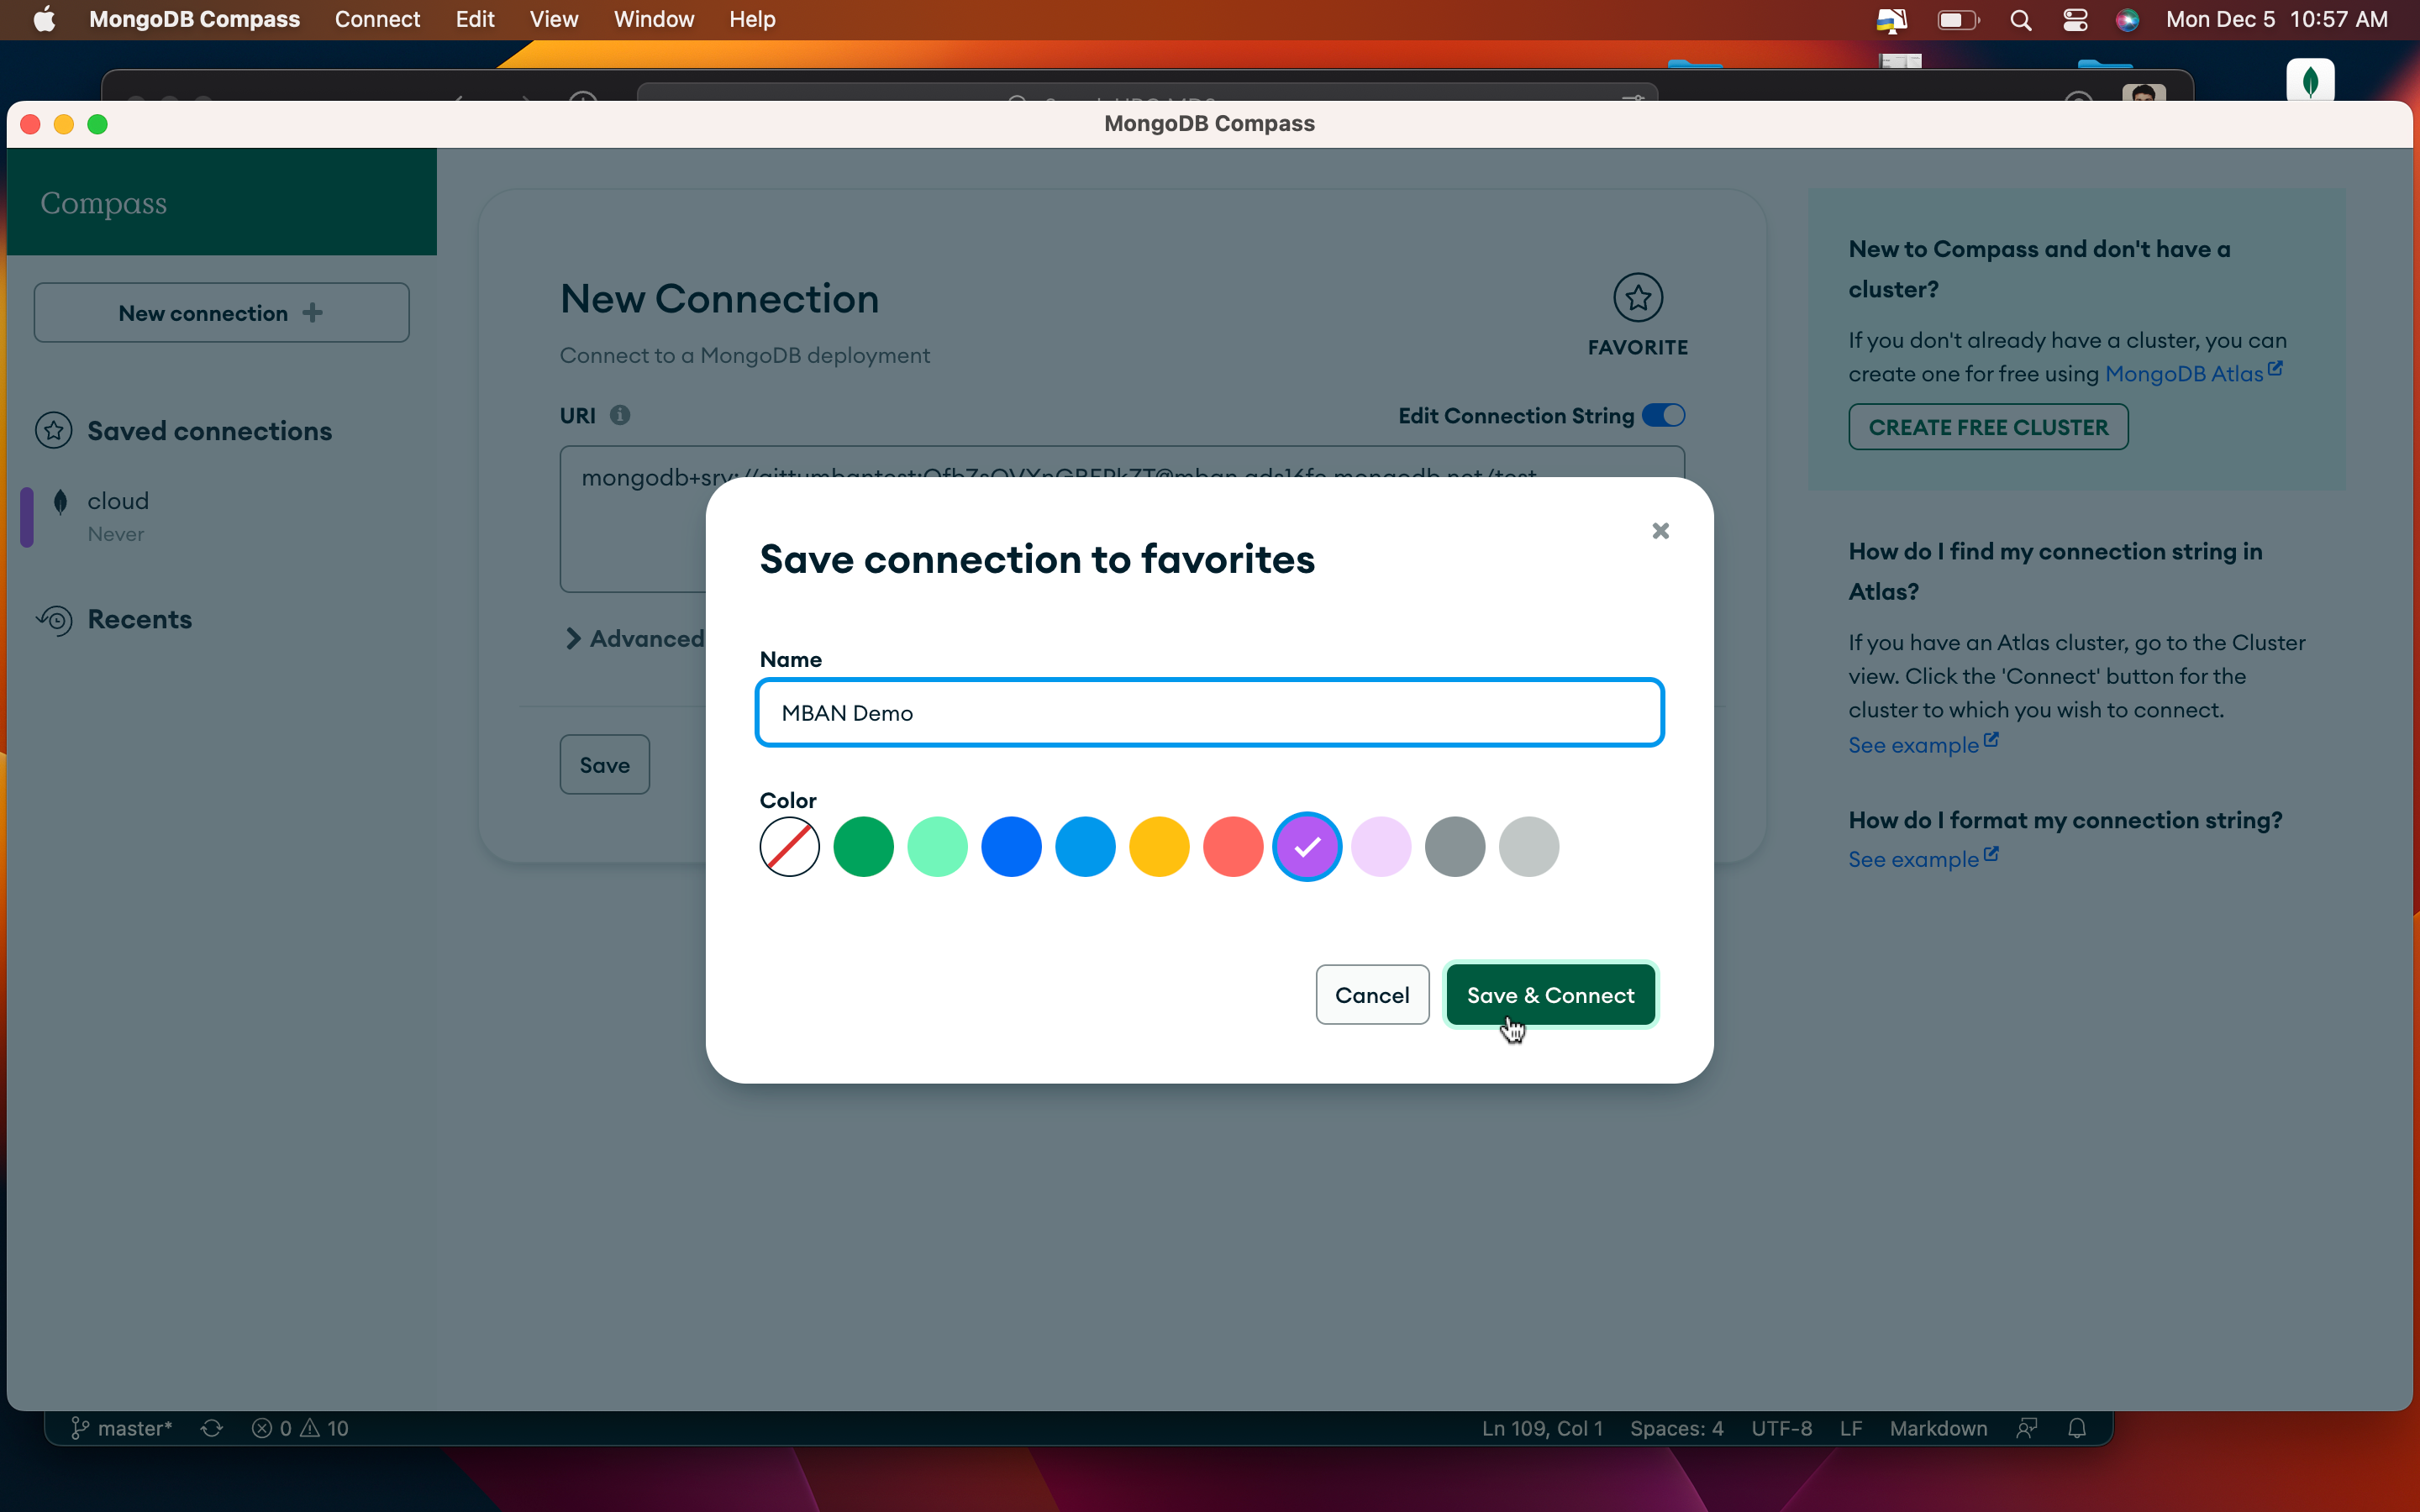
You can save the connection for future use;
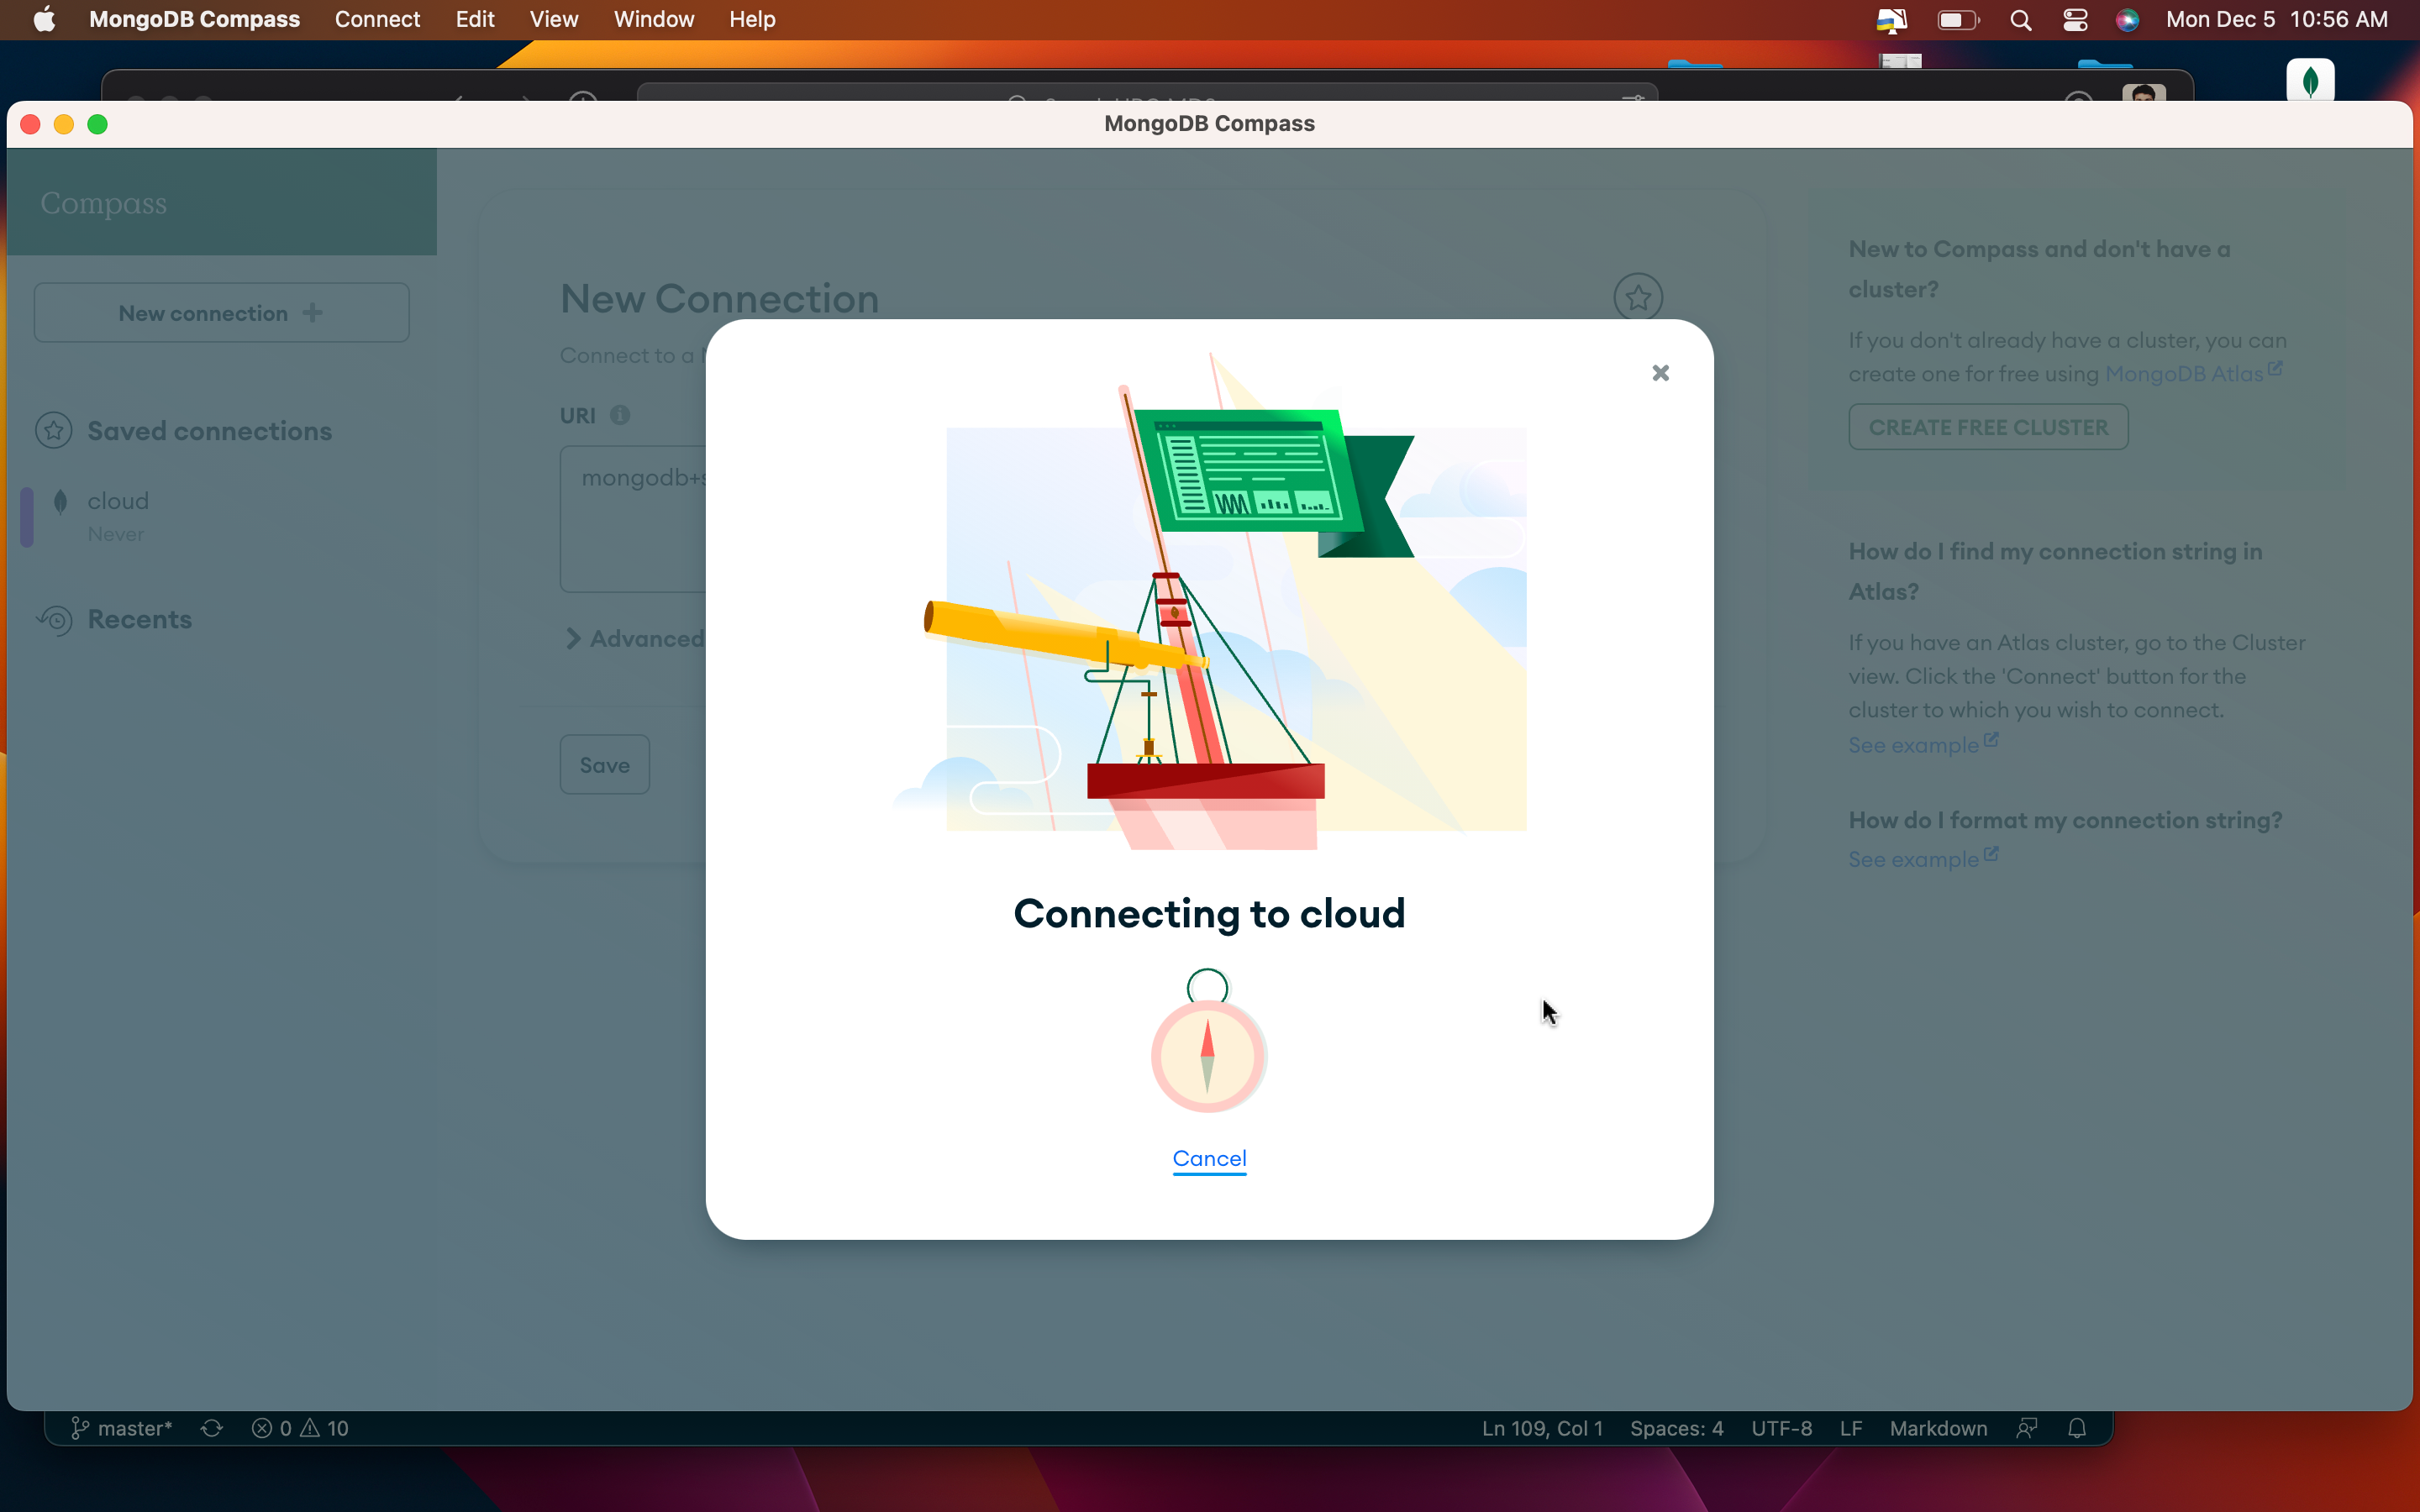
It might take some time to complete the connection;
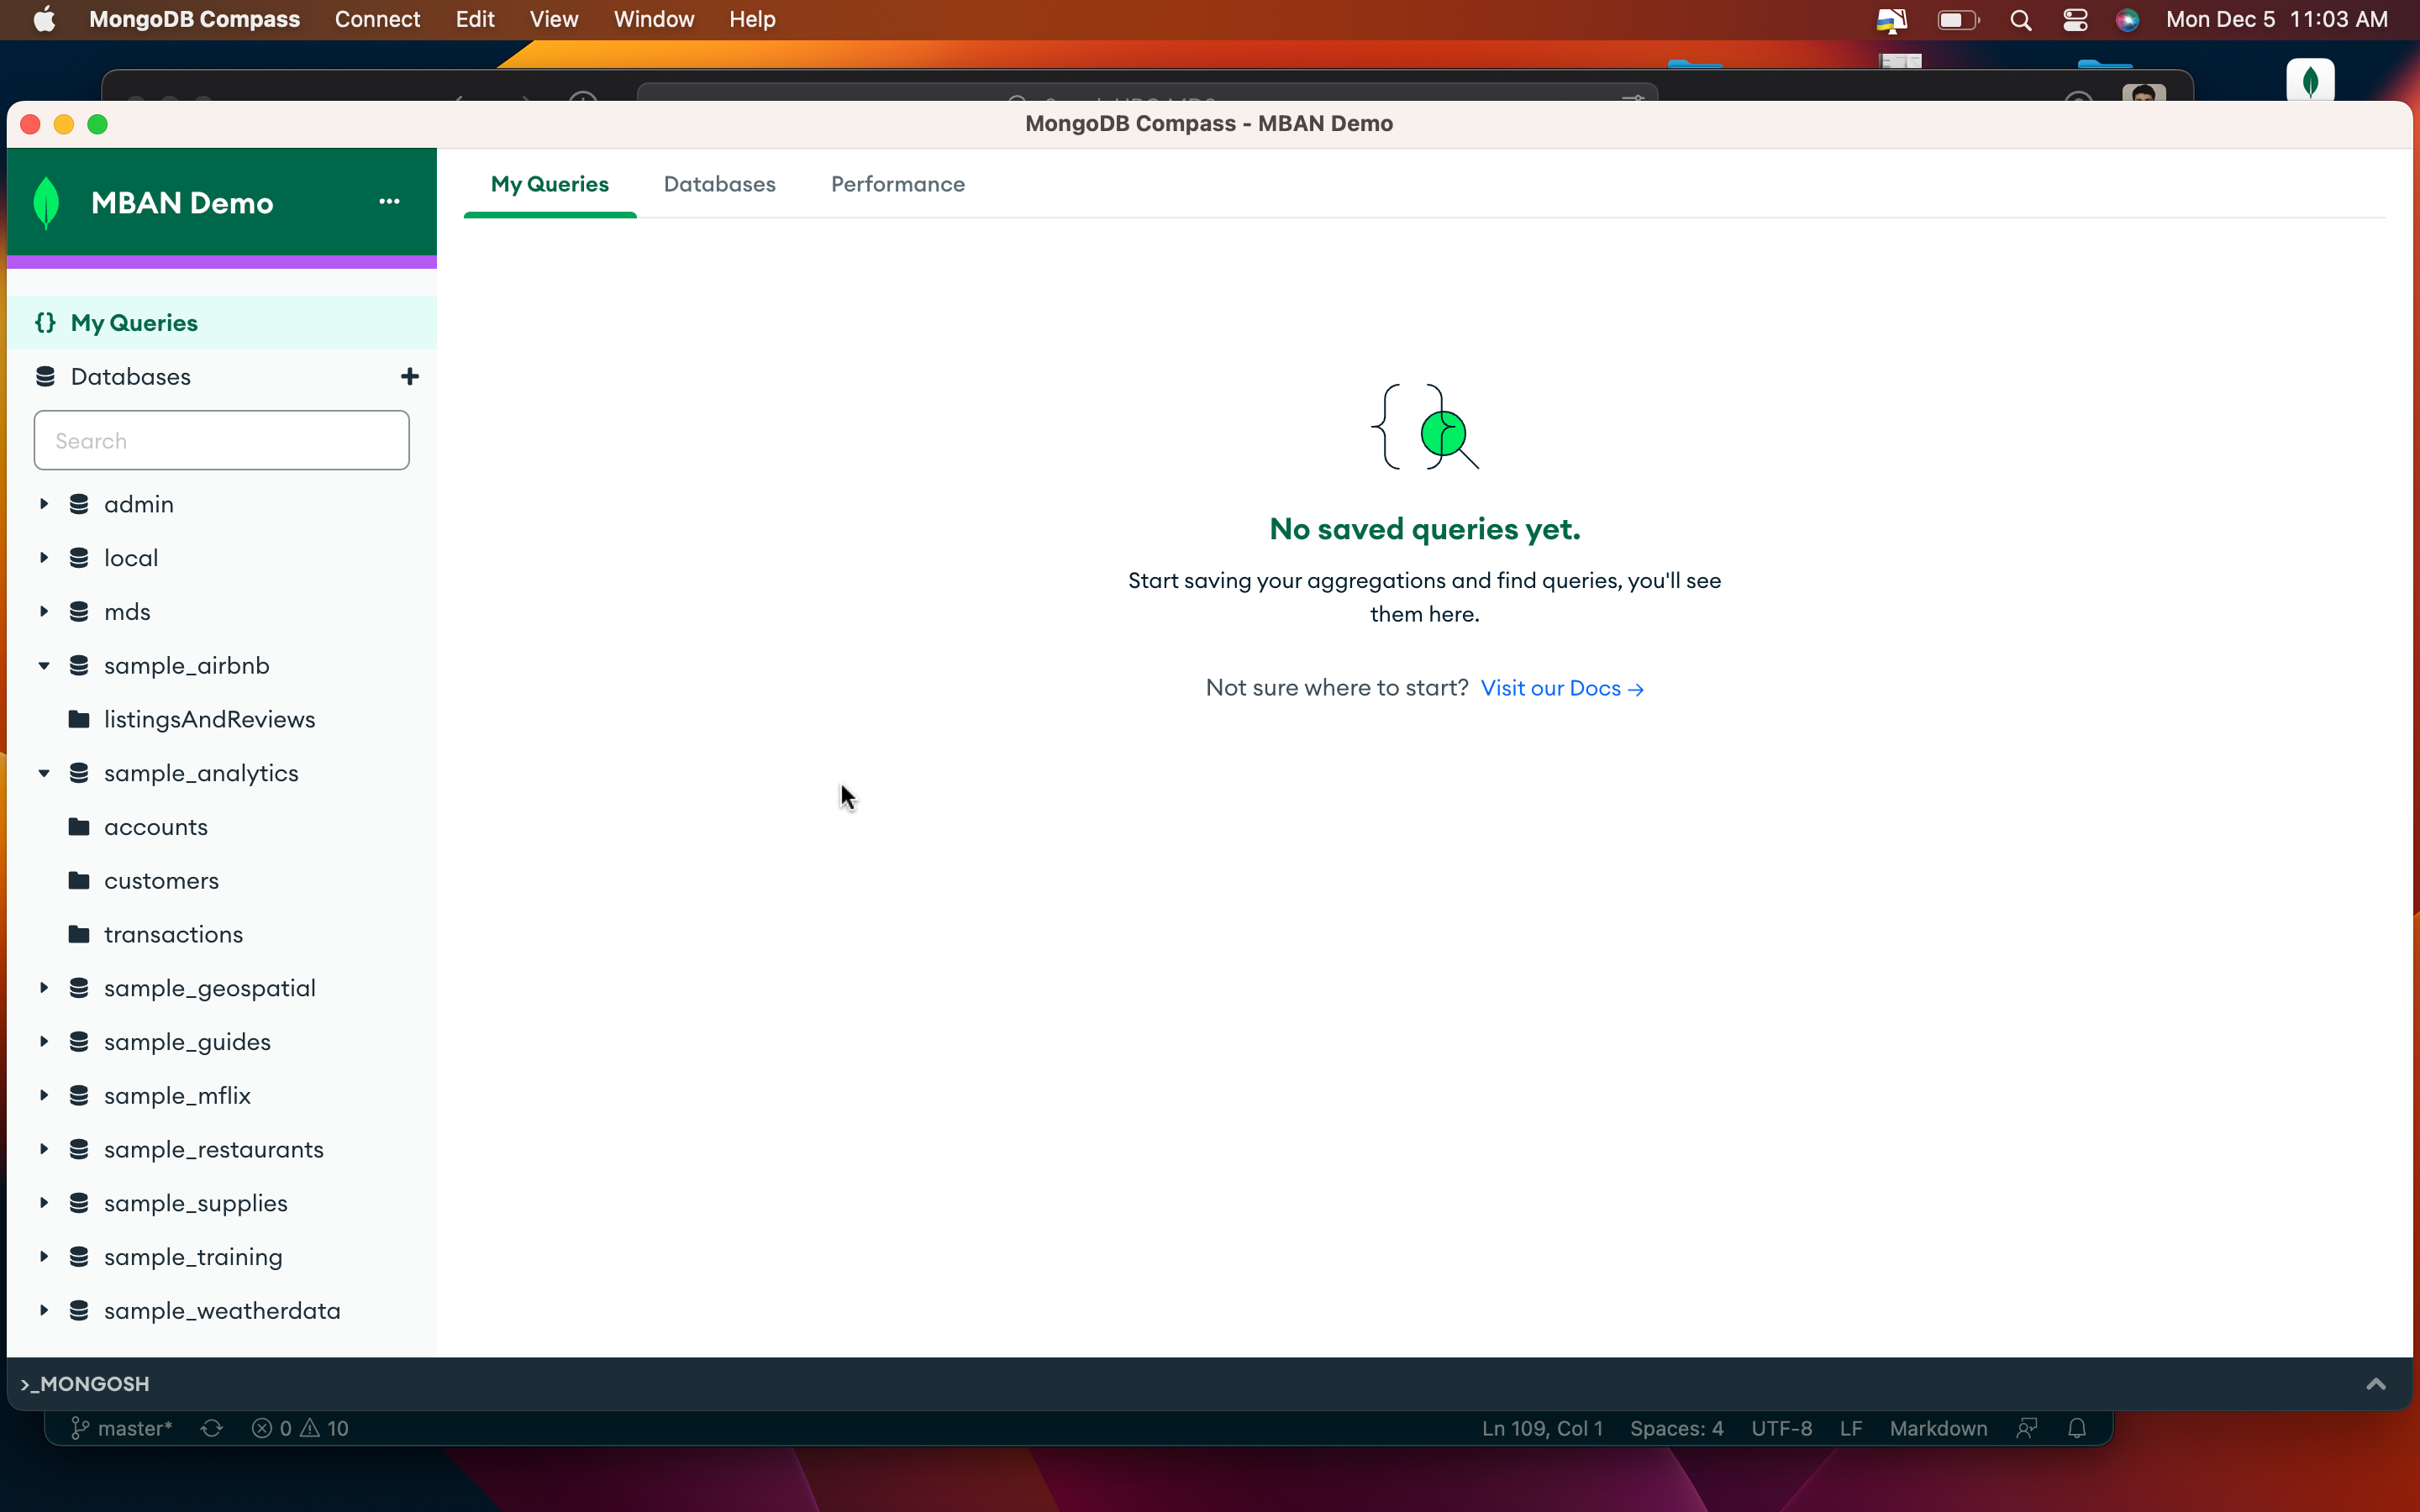
Once the connection is complete, you will be taken to this screen; You can see all the databases there. All these are dummy databases, and we will be using these for the class demo and assignments.
Note
If you want to log back in, you can use this URL
They will go to an inactive state if you don’t use them for some time. You don’t want to do anything special like in neo4j. You can connect just like how you used to, but it will take some time to boot up.